Sprint 4
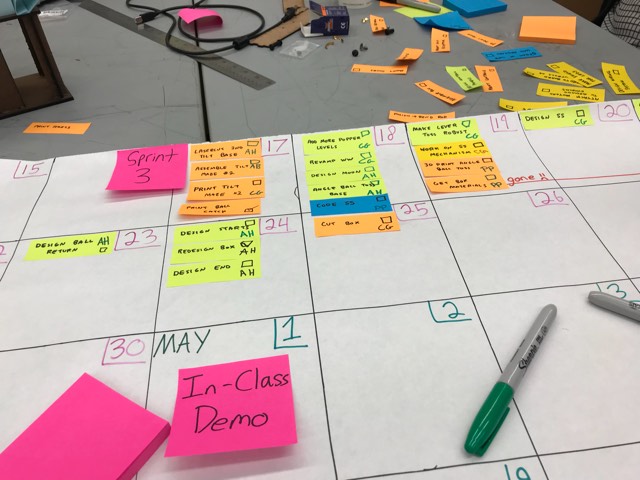
On the last day of this sprint, our game was supposed to be playable. During this sprint, we made a lot of progress towards a playable game, but we were only able to complete a partially playable game. It was however, very exciting to see things finally coming together. We fully completed the left side of the box. We started this sprint with a plan to get the game done in time. That plan did not go well, and we ended the sprint finishing about half the work we thought we could do. We still have a lot of work ahead of us, but we believe that we will be able to finish by the final event.
The Game Thus Far
Minimum viable game
A two-player cooperative with with four obstacles per player.
Objective
Two players must work together to get the ball to the end of the obstacle course
Scoring
The game is scored based on how quickly the players can move their balls through the obstacles
Obstacles Designed
Uncovered tilt maze, Covered Tilt Maze, Popper, Weeble Wobble, Ball Pass, Swishel Swashel, Lever Toss, Shoot the Moon
Obstacles Built
Uncovered tilt maze, Covered Tilt Maze, Popper, Weeble Wobble, Ball Pass, Swishel Swashel, Lever Toss
Theme
SPACE
Name
Lunacy
Concept Map

The concept map did not change from sprint 3 to sprint 4. We did however have some miscommunication between which side is right and which side is left. In the actual game, all of the right side obstacles and controls are on the left side and vice versa. This mix up was not aided by the fact that several members of the team confuse their rights and lefts frequently.
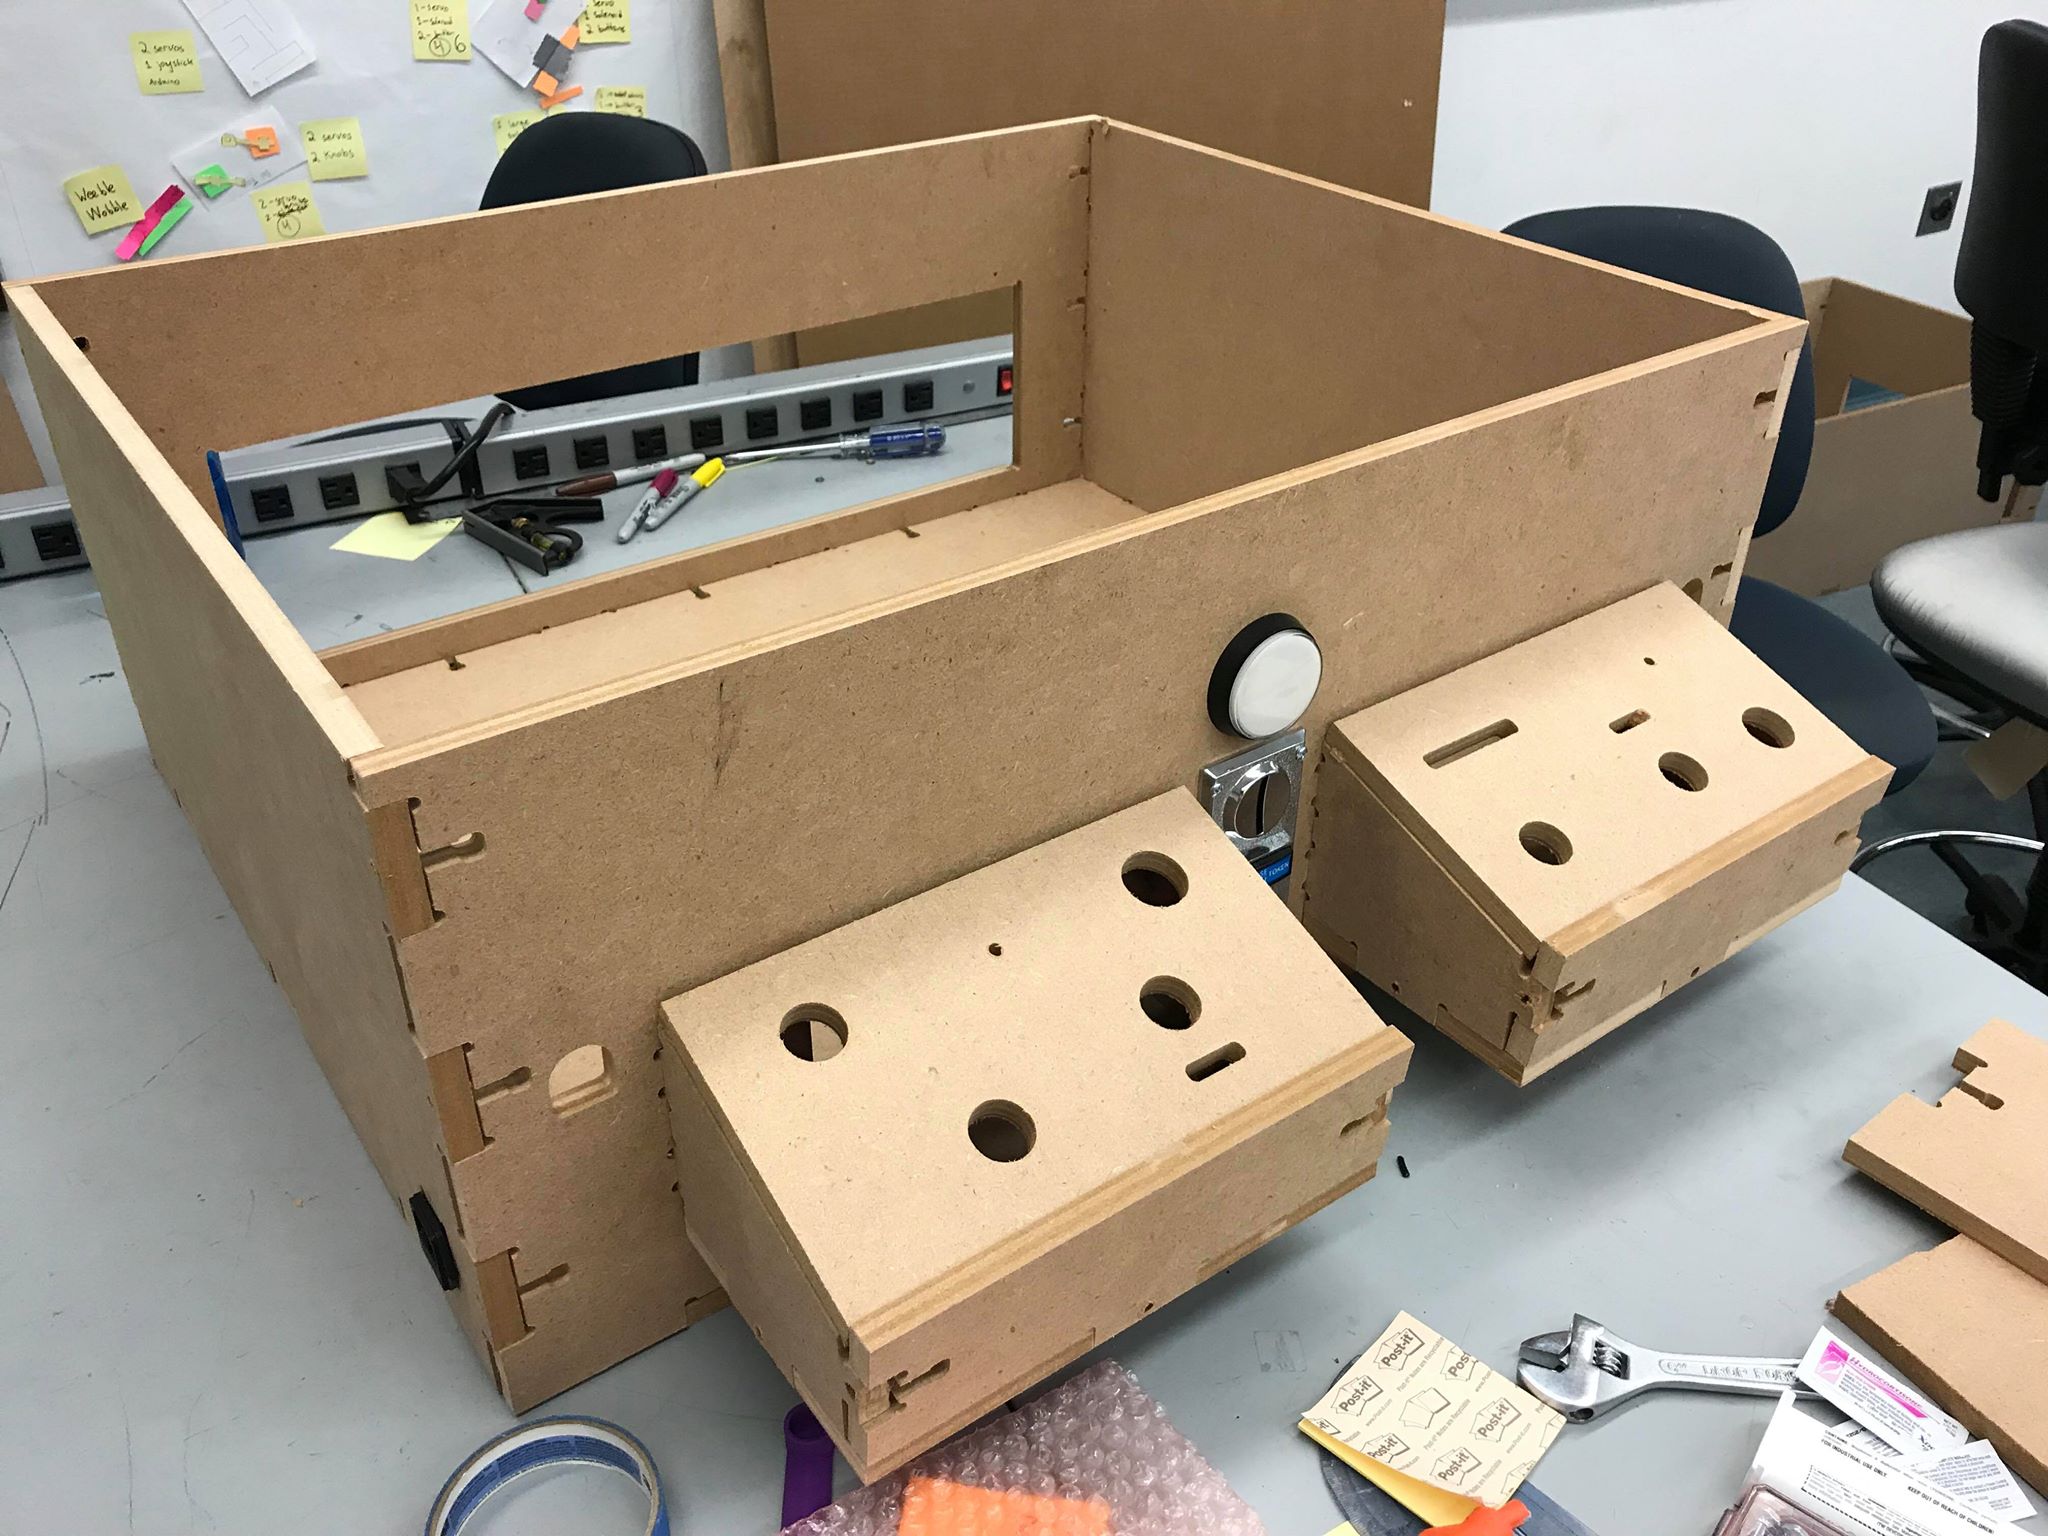
The New and Improved Box
We learned a lot by creating the first box in sprint 2. We made a second box in sprint 4 that was shorter and had correct cutouts for the start button, the coin acceptor, a power port, and the ball return. We also decided that all of the controls and the two ball returns would be on the same side of the box. The new box will be our final box for Lunacy. We started mounting the left side controls and motors.
Electrical is Getting Complicated
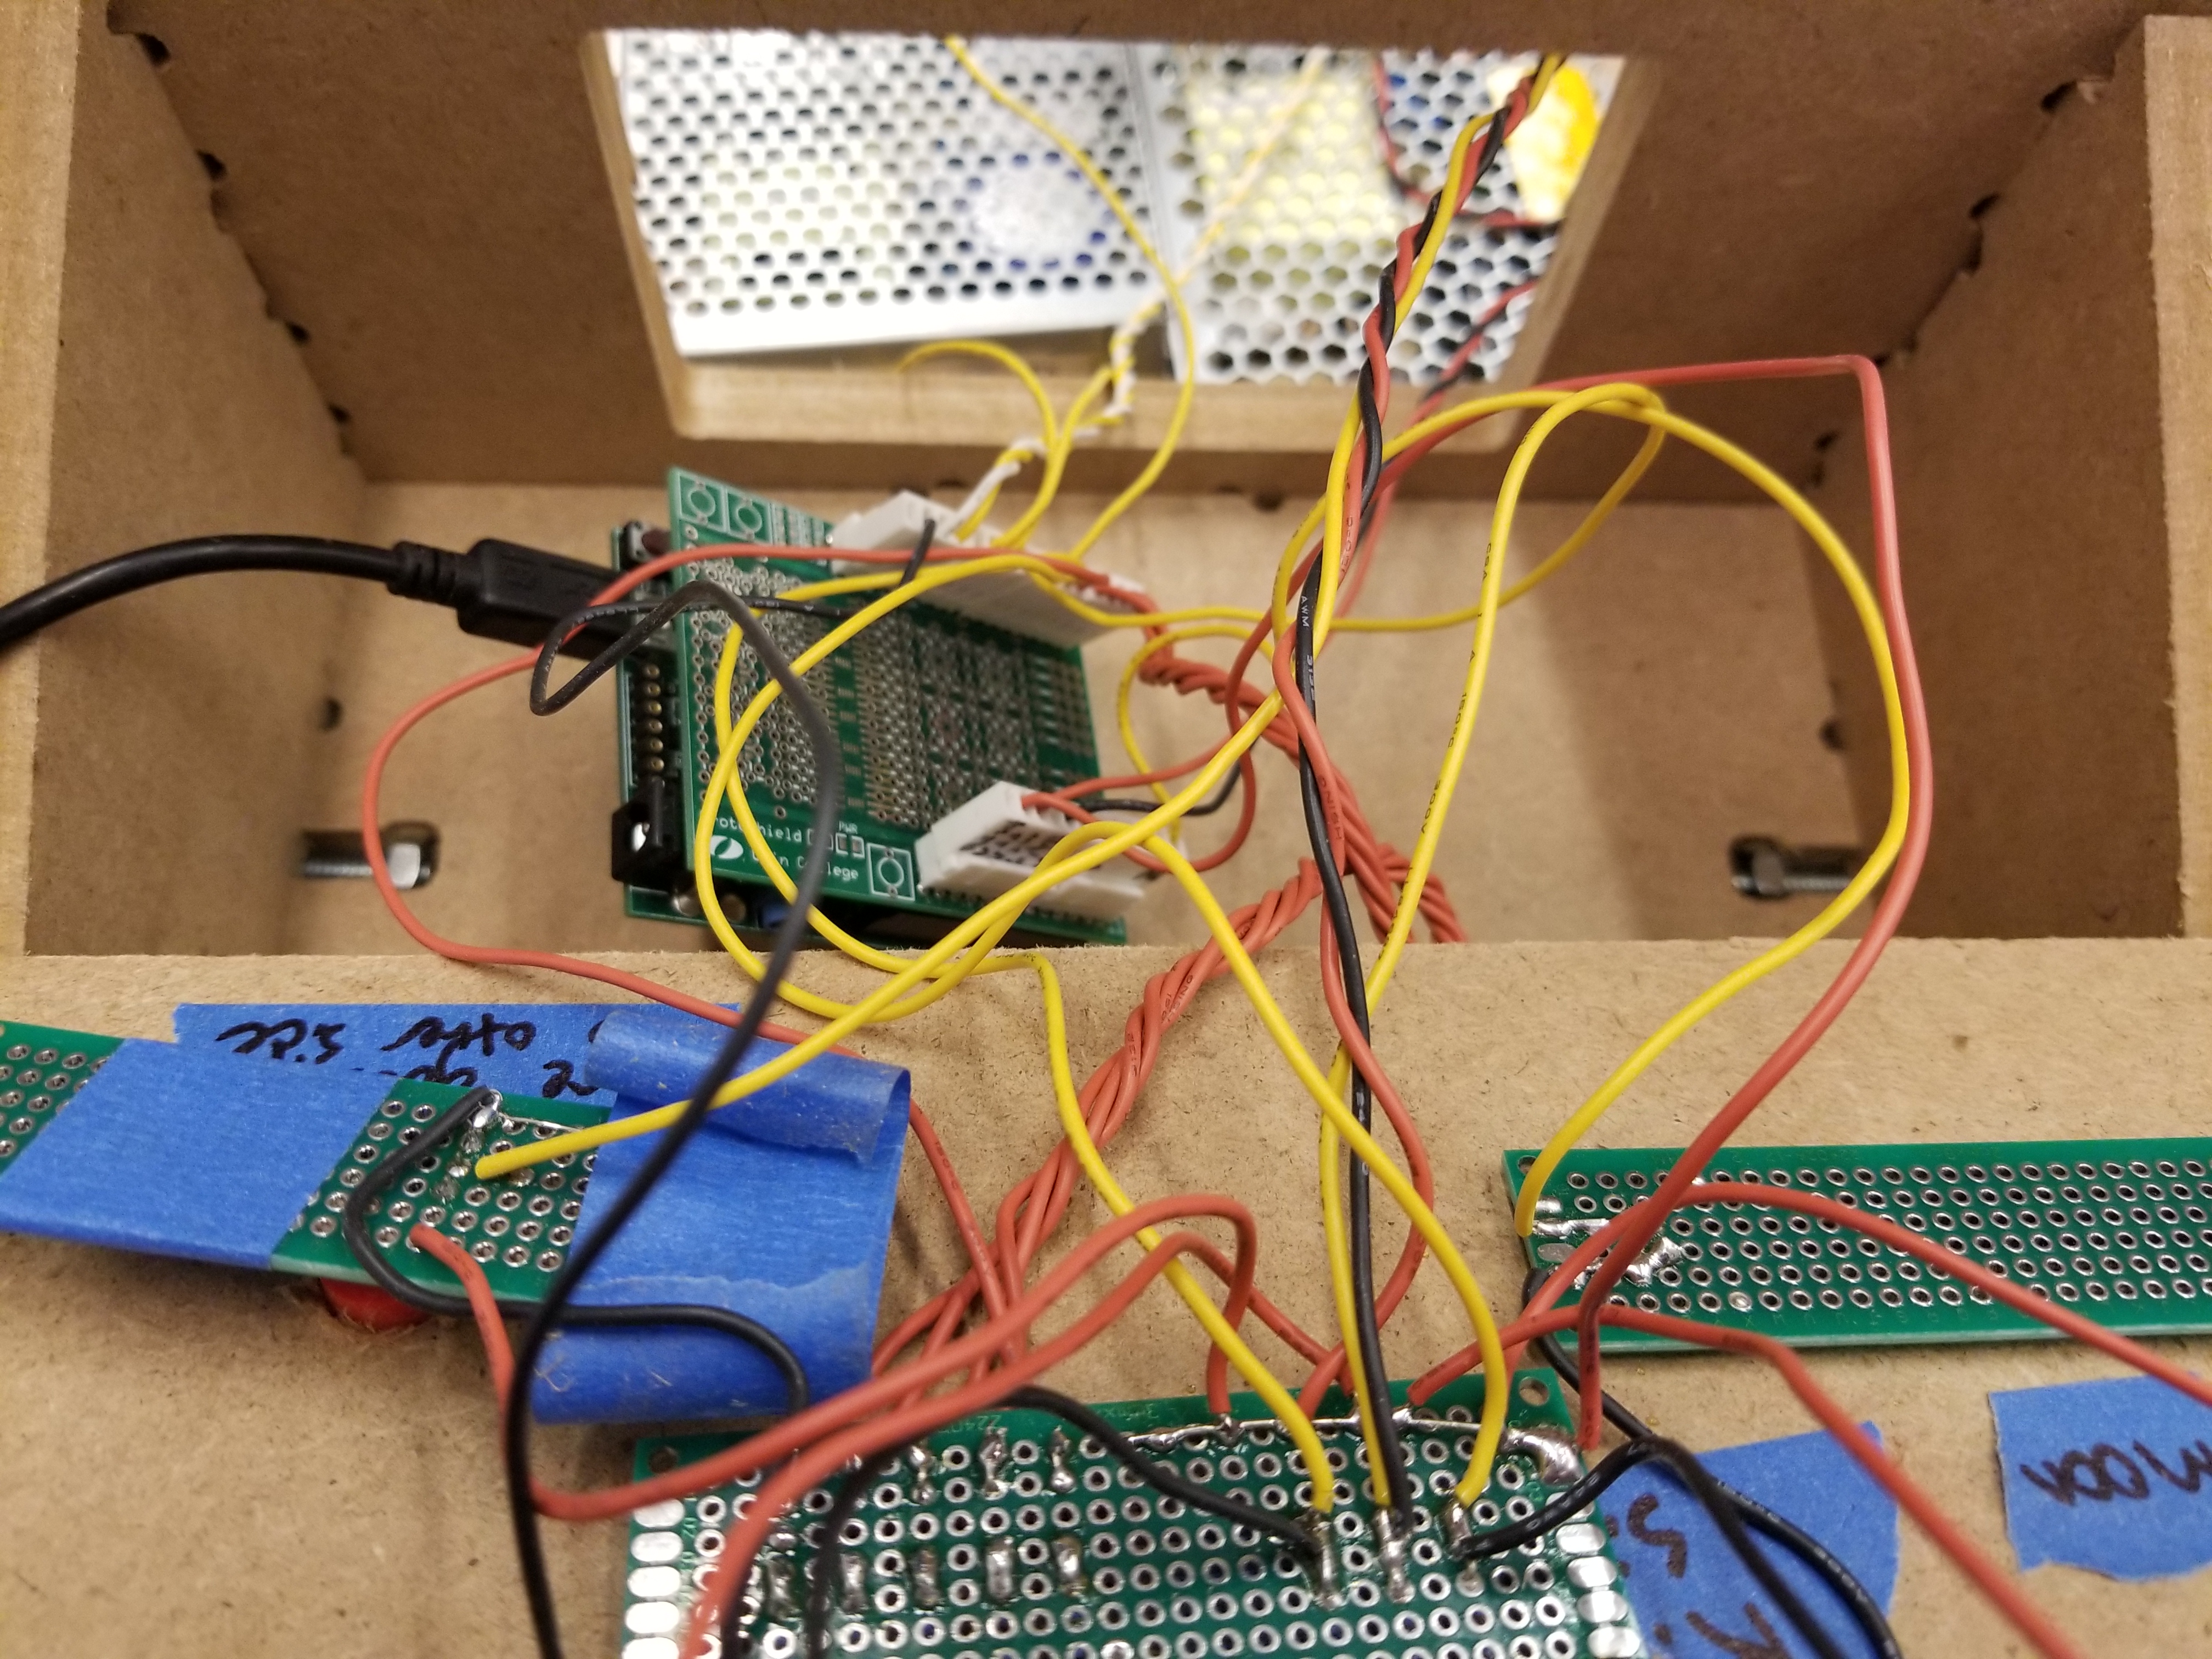
While the wiring for the start-stop conditions was bad, it got so much more complicated in this sprint. We have three PIC microcontrollers that have 13 inputs/outputs each and one Arduino with three objects running on an I2C bus. We also have a protoboard for each solenoid (3), each analog input (3), and each LED force gauge (2). Our motors and controls run off of 3 different voltages. We couldn't find a power supply that could supply enough current in the voltages that we needed, so we ended up having to buy two different power supplies. Connecting and grounding everything was a nightmare, and we haven't even started on the motors for the other side or all of the break beam sensors for the start and stop conditions. The break beam sensors alone are going to add 20 wires (luckily 16 of those are power and ground). To combat the wire mess, everything is either soldered together or mechanically linked together with either special header pins or hot glue. With the help of a circuit diagram (which you can find on the electrical page), we were able to successfully wire both control panels, the left motors, and the start conditions. The left control panels and motors worked perfectly, however due to programming errors, we were not able to get the start conditions working in time for the in class demo.
We have countdown!
In order to convey when the game stops, we needed a countdown timer. We decided to buy a large countdown timer from Adafruit that communicates via Arduino using I2C. During this sprint, we got the countdown timer working with both joysticks for the tilt maze on the same I2C bus. We are super excited to incorporate this timer into our final game. Now we just have to figure out where to mount it...

Lessons Learned
- Things fit together better in the second iteration
- Electrical systems get very messy very easily
- Wire nuts are super cool and should be used more often
- Make sure everyone is using the same reference frames for left and right BEFORE you start building
- Also make sure everyone knowns their lefts from their rights
- If you fall behind schedule, reevaluate and update the schedule as soon as possible
- People have different opinions about whether or not you need to wear safety glasses when soldering. You do however need them when using a power drill.
- Steer clear of the lever toss at max power. It will do some serious damage (safety glasses recommended).
- We have officially changed our name to Screwed Ball Scramble