Agile-Style Hardware Development
Our project timeline is divided into 5 different 2-week sprints. The first 4 of these sprints will terminate with design reviews; the last one terminates with a final demo of our mechatronic system. A priority is placed on each sprint ending with significant integration between the different systems, to make continuous integration easier. See below for documentation on each one of our 5 sprints.
Sprint 1: Concept and Initial Movement Control
Our first sprint focused on getting the project off of the ground and on demonstrating that the idea was feasible. One of our major concerns was that it wouldn't be physically possible to control a ball in 3 dimensions, and so we did as much testing with hair dryers, computer fans, etc, as possible. We also designed and assembled the first stage of our mechanical system, the X axis (left/right) and the control mechanism (a joystick from the 90s).
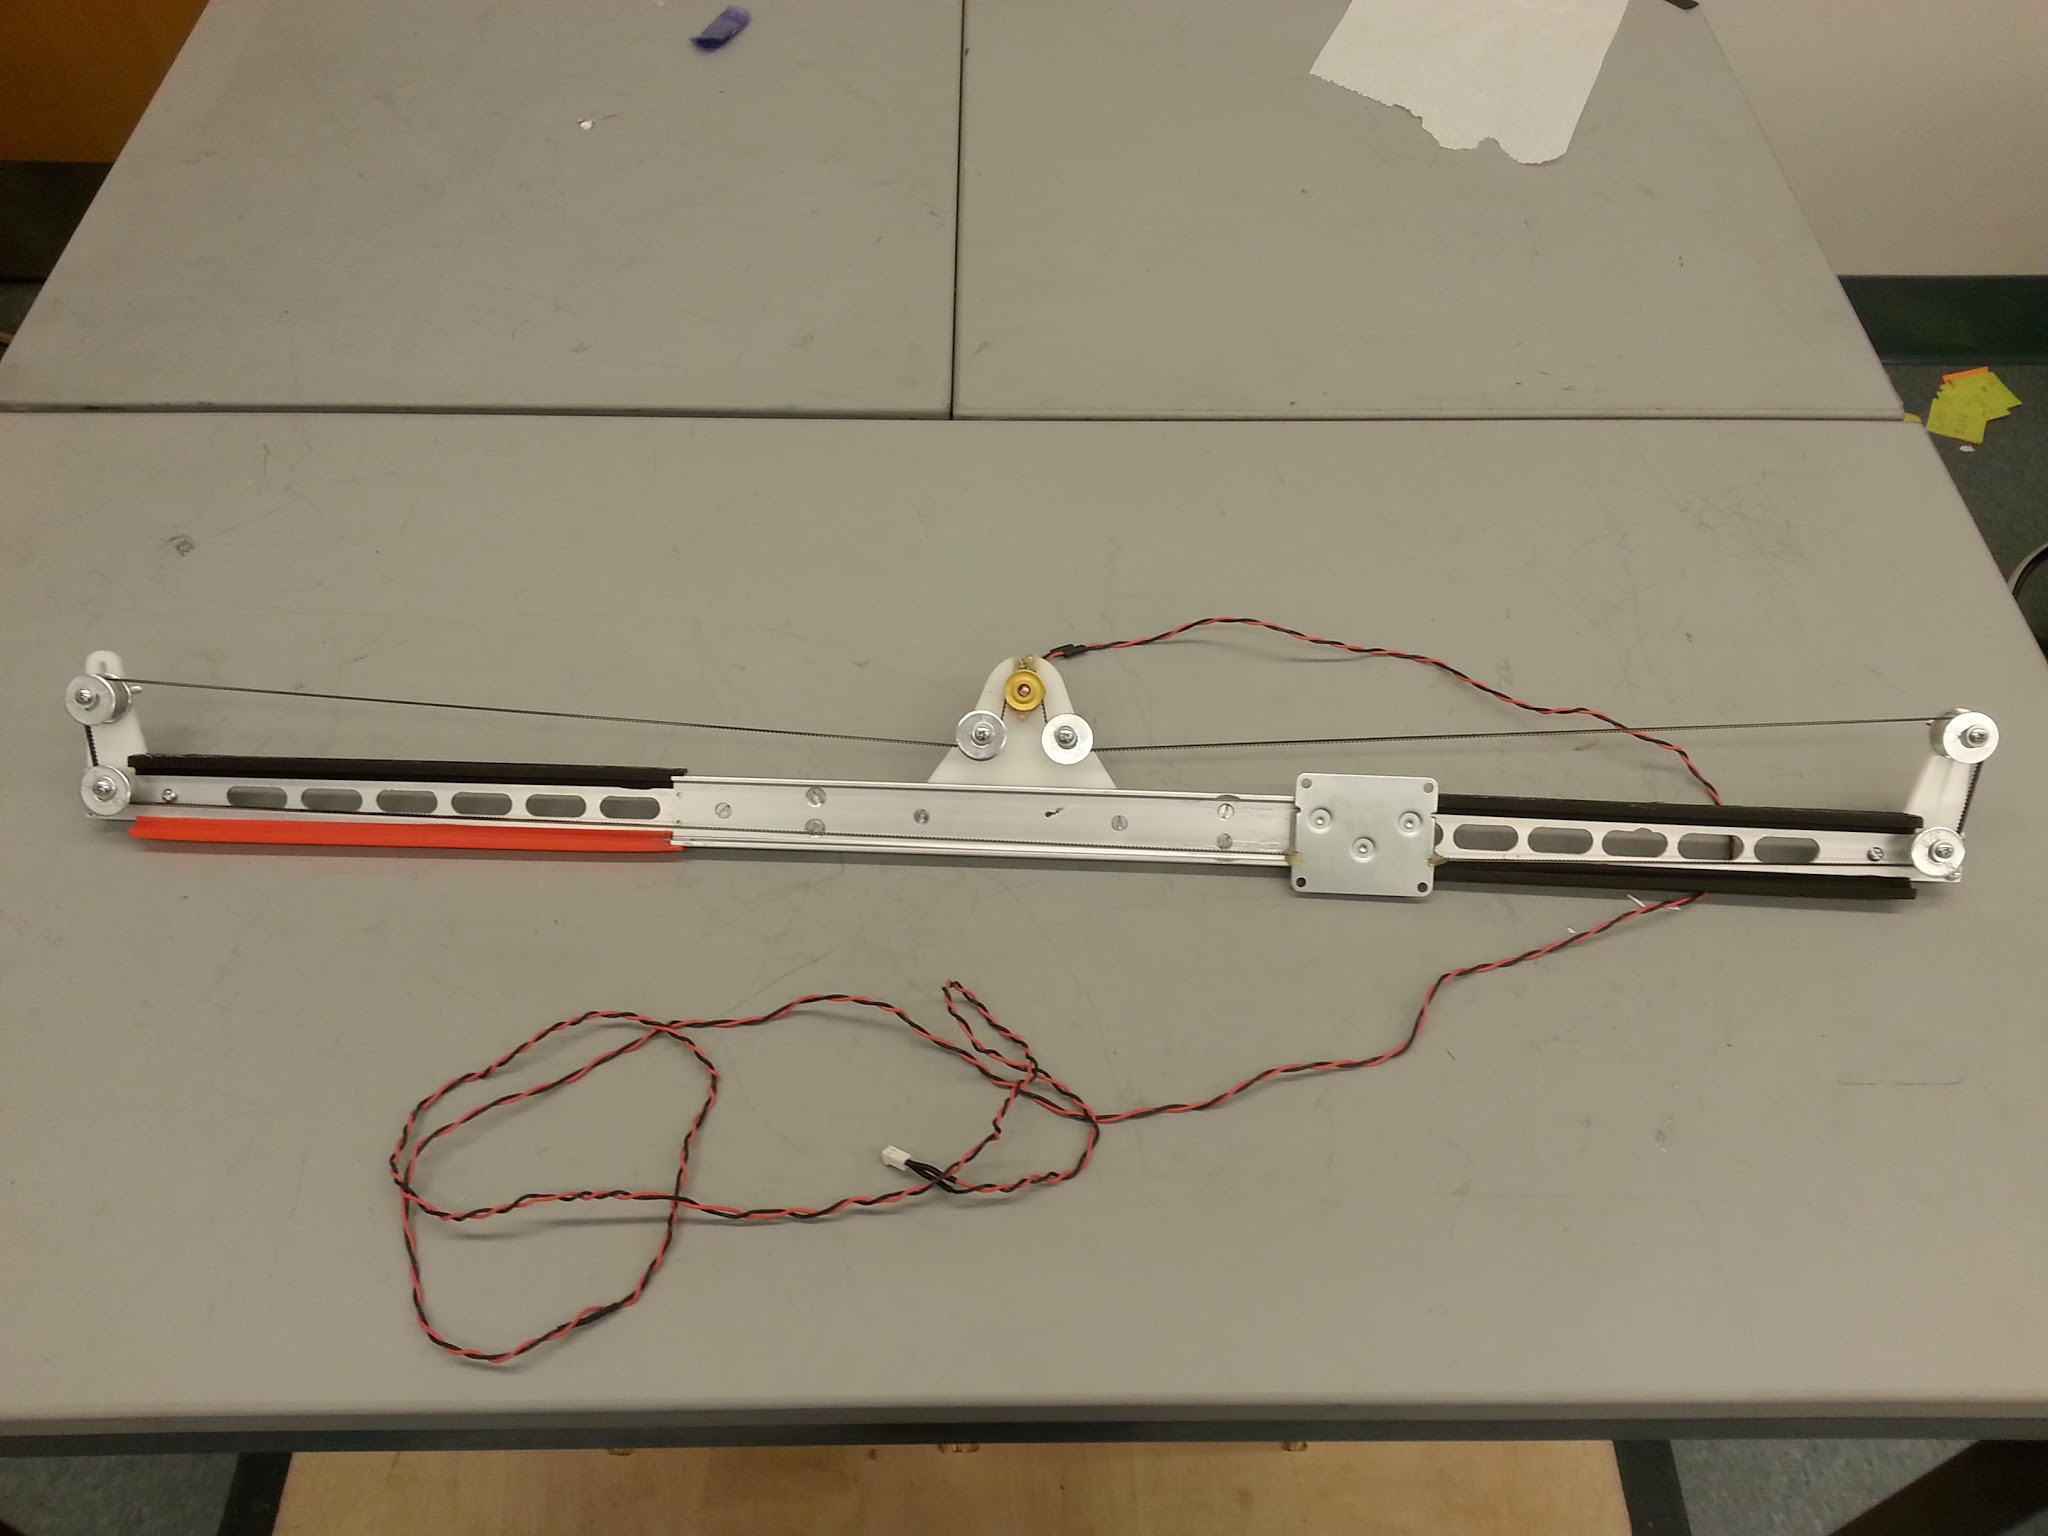
First axis of movement

Our joystick controller
Sprint 2: Vertical Movement
Although we tested our ability to control a ball during the first sprint, we knew that this still a potential failure mode for us. We spent this sprint specing out fans and blowers. The important things we were looking for were flow rate (so that we could raise the ball high enough) and maximum pressure (so that we could feed it through a tube). After many iterations, we settled on a (very loud) vacuum from Home Depot.
We also created a control mechanism for raising and lowering the ball (Z axis) - turning a potentiometer opens and closes a servo-controlled valve on the blower tube.
Lastly, we set up a commercially-available coin collector to accept coins and send a "start game" signal.
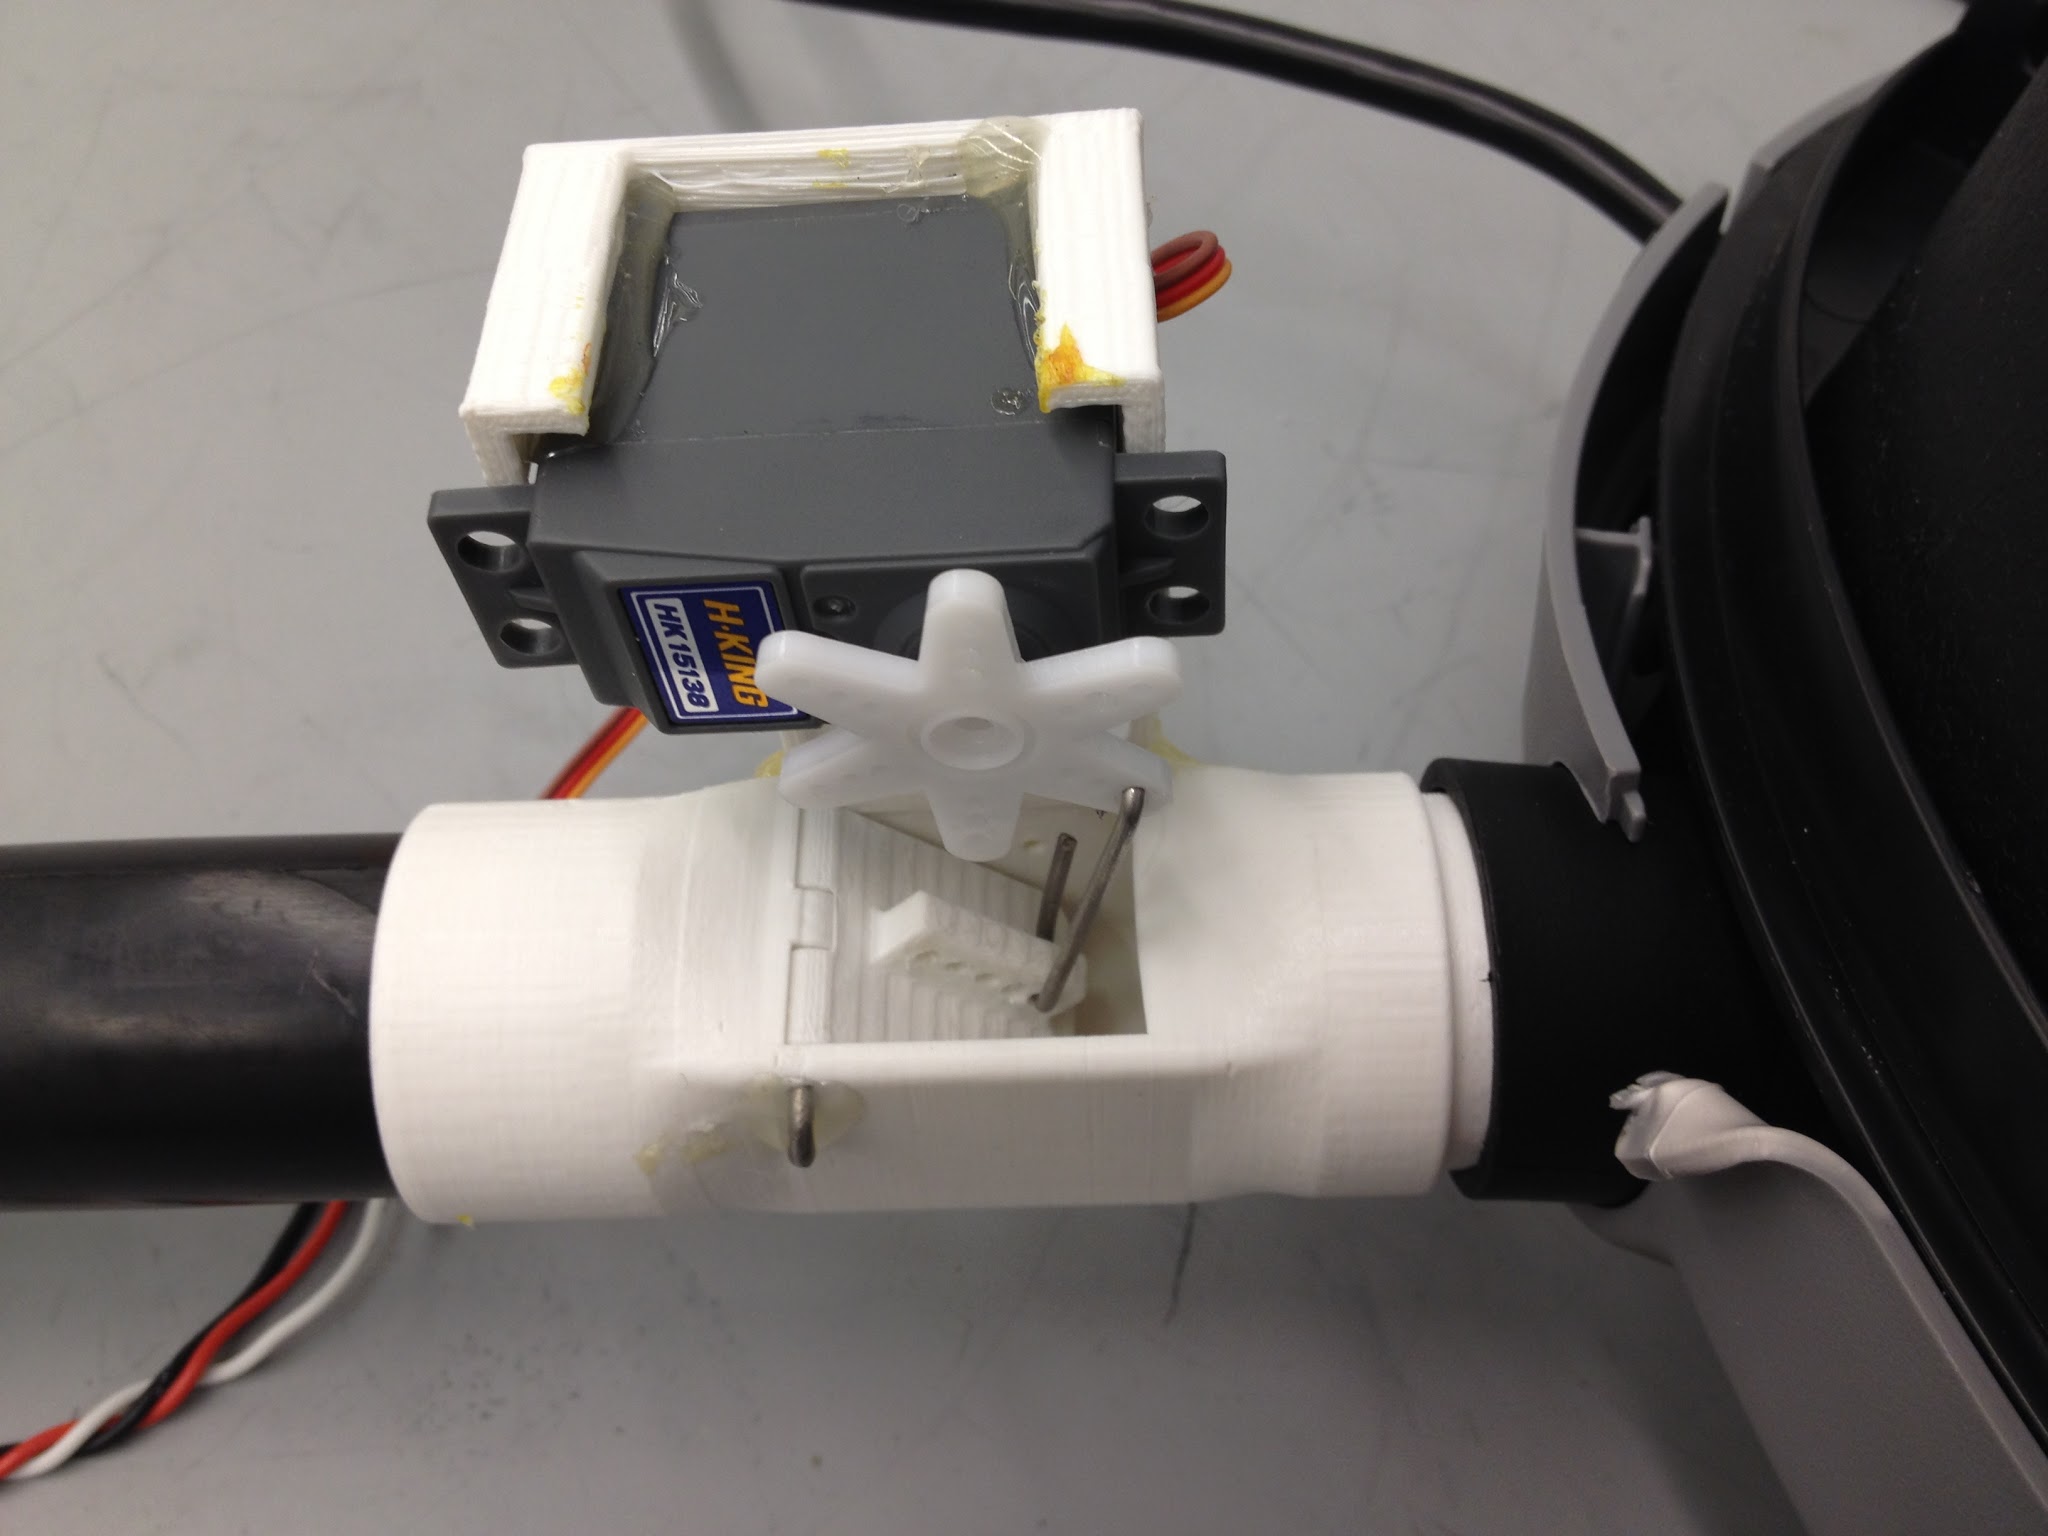
Servo valve
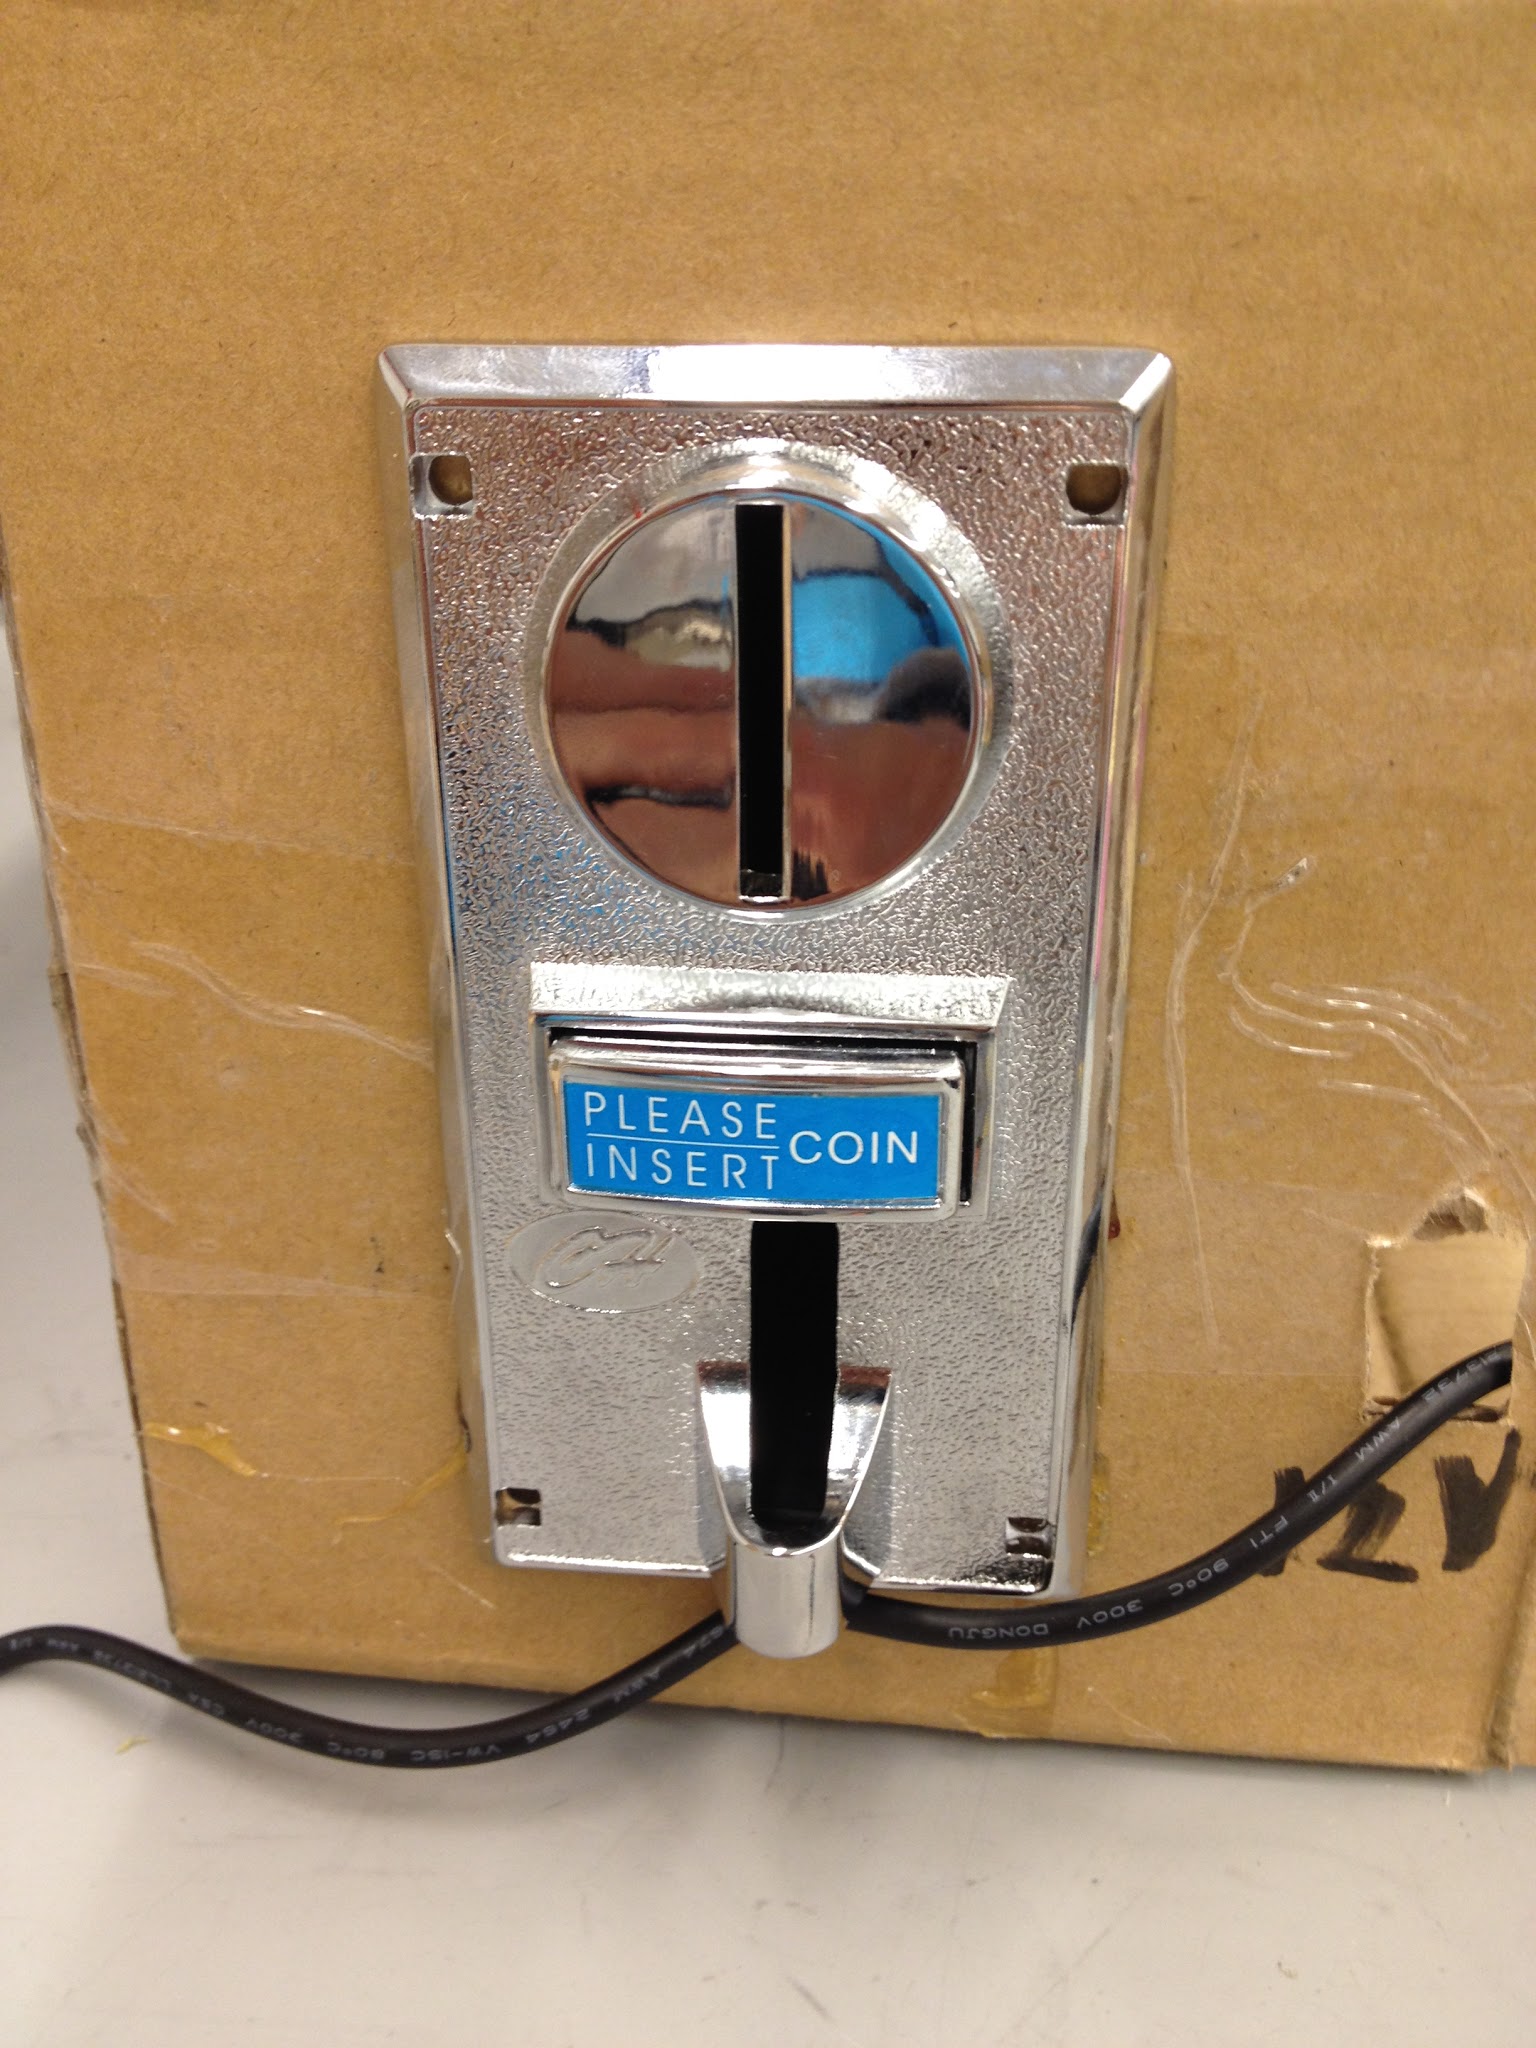
Coin Acceptor
X and Z axes, as well as control box

Electrical system inside the box
Sprint 3: 3-Axes Demonstration
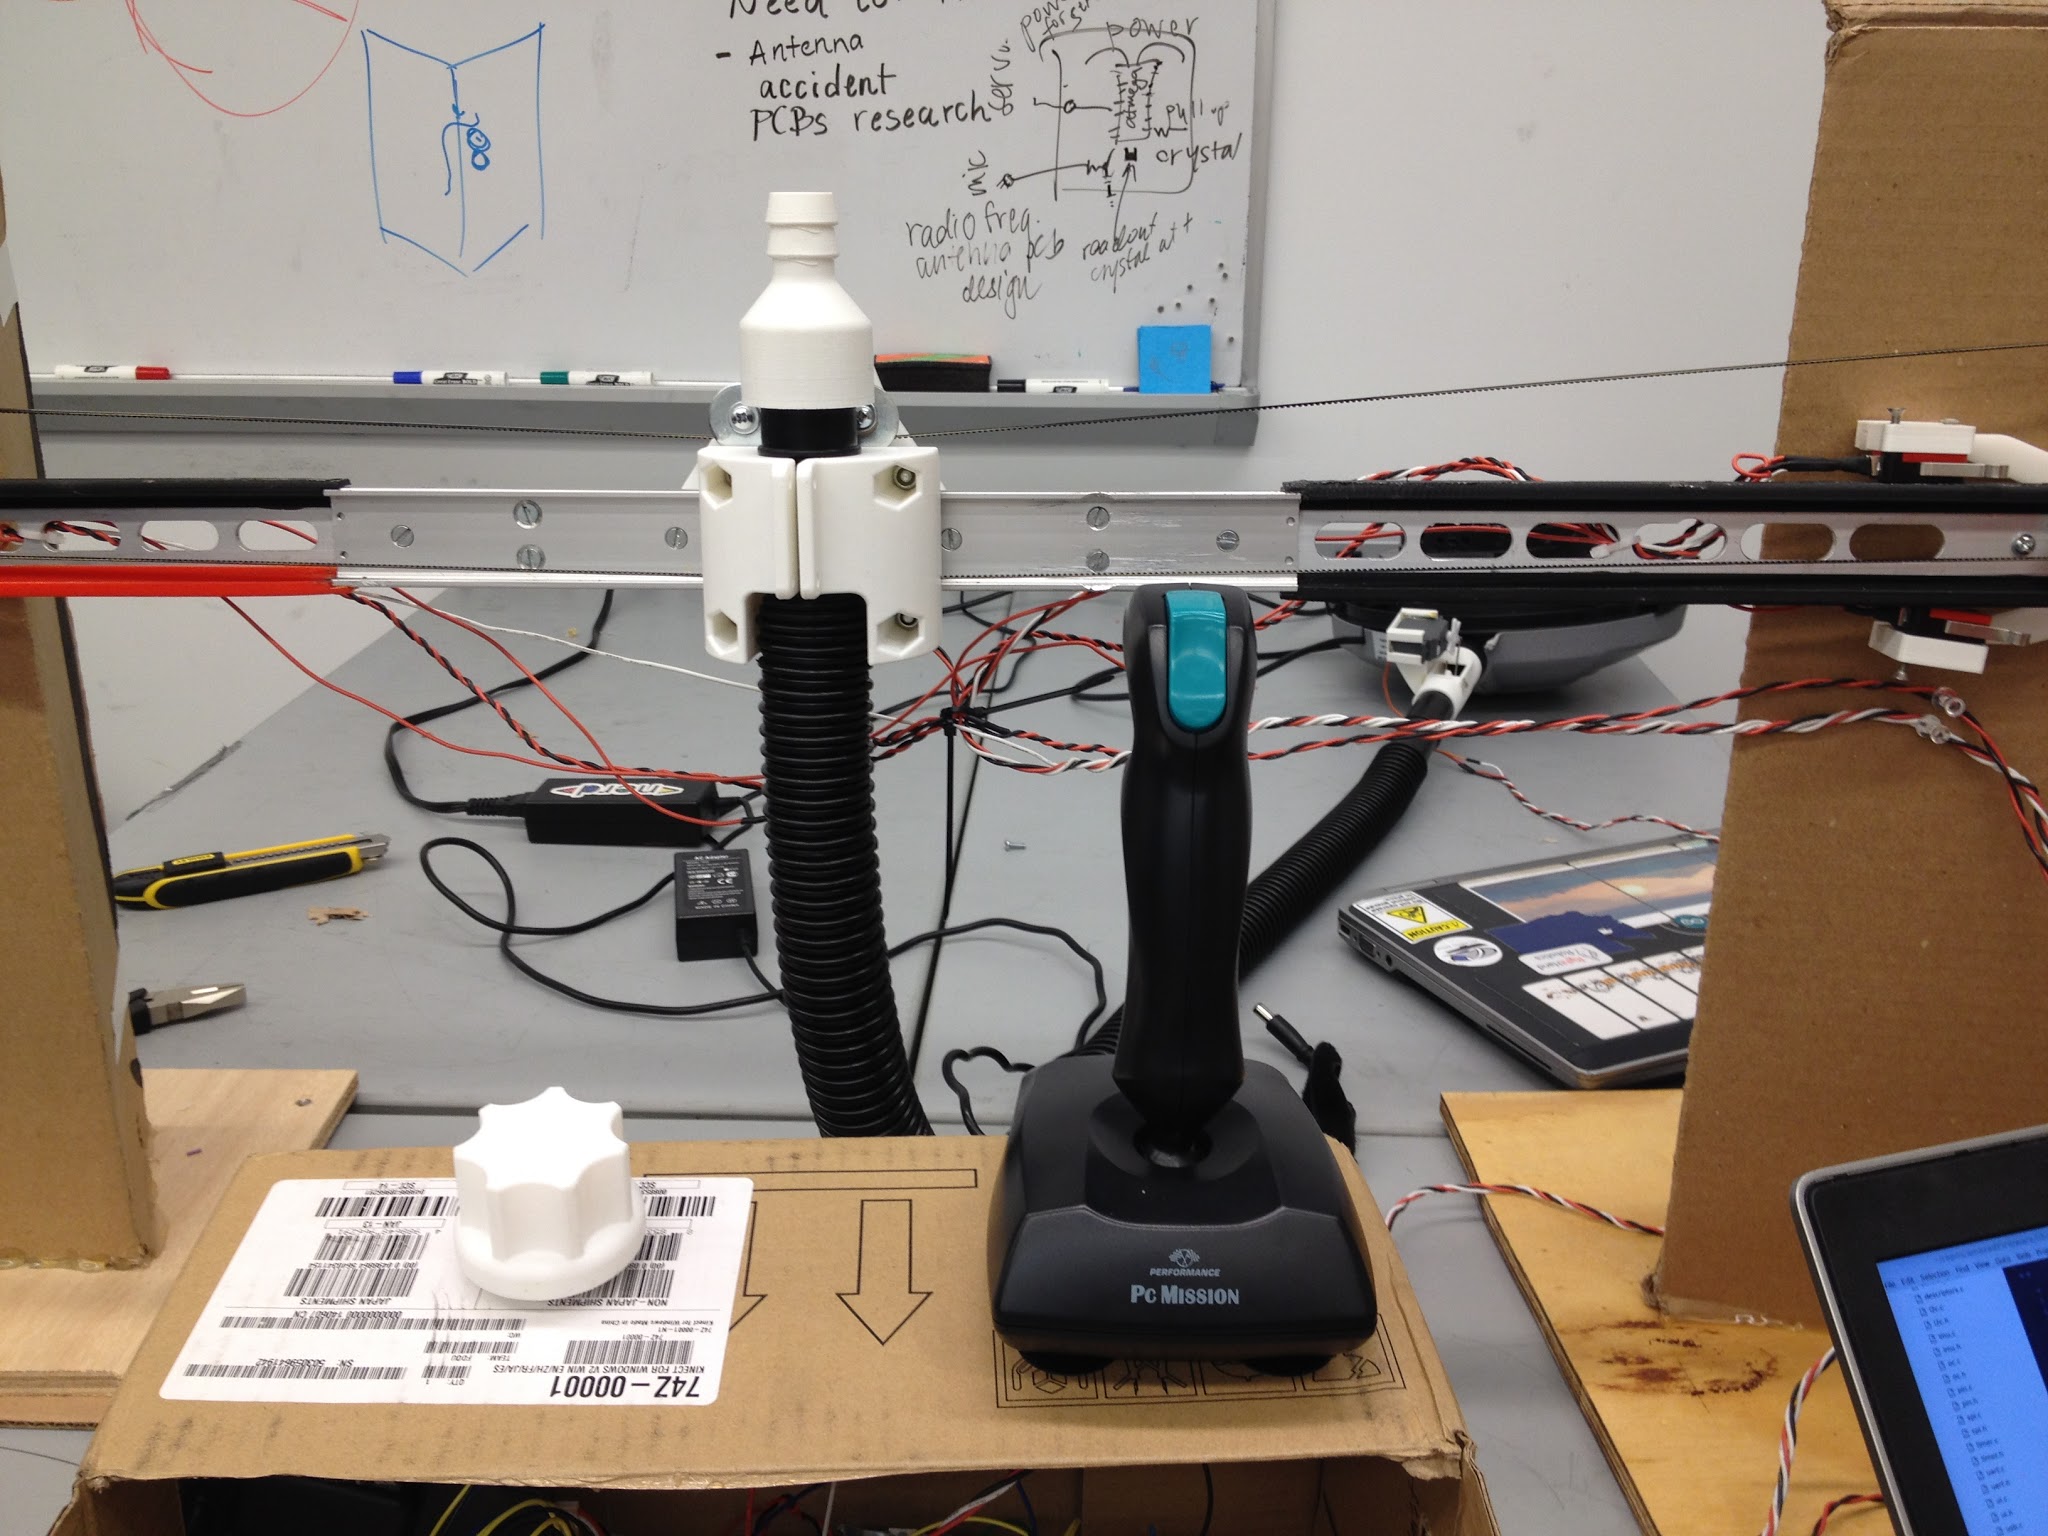
The obvious next step for us was to finish off the control system with the Y axis (forward and back). We mounted the X axis on a set of rails, and pulled it back and forth via string on both sides.
During this sprint, we focused on a number of smaller tasks as well. We fabricated a PCB to clean up our messy breadboarded wires and implement dual motor control. We also prototyped a photodiode/LED pair to detect when the game has ended and a 7-segment display to give score feedback to the player.

3-axis system on the rails
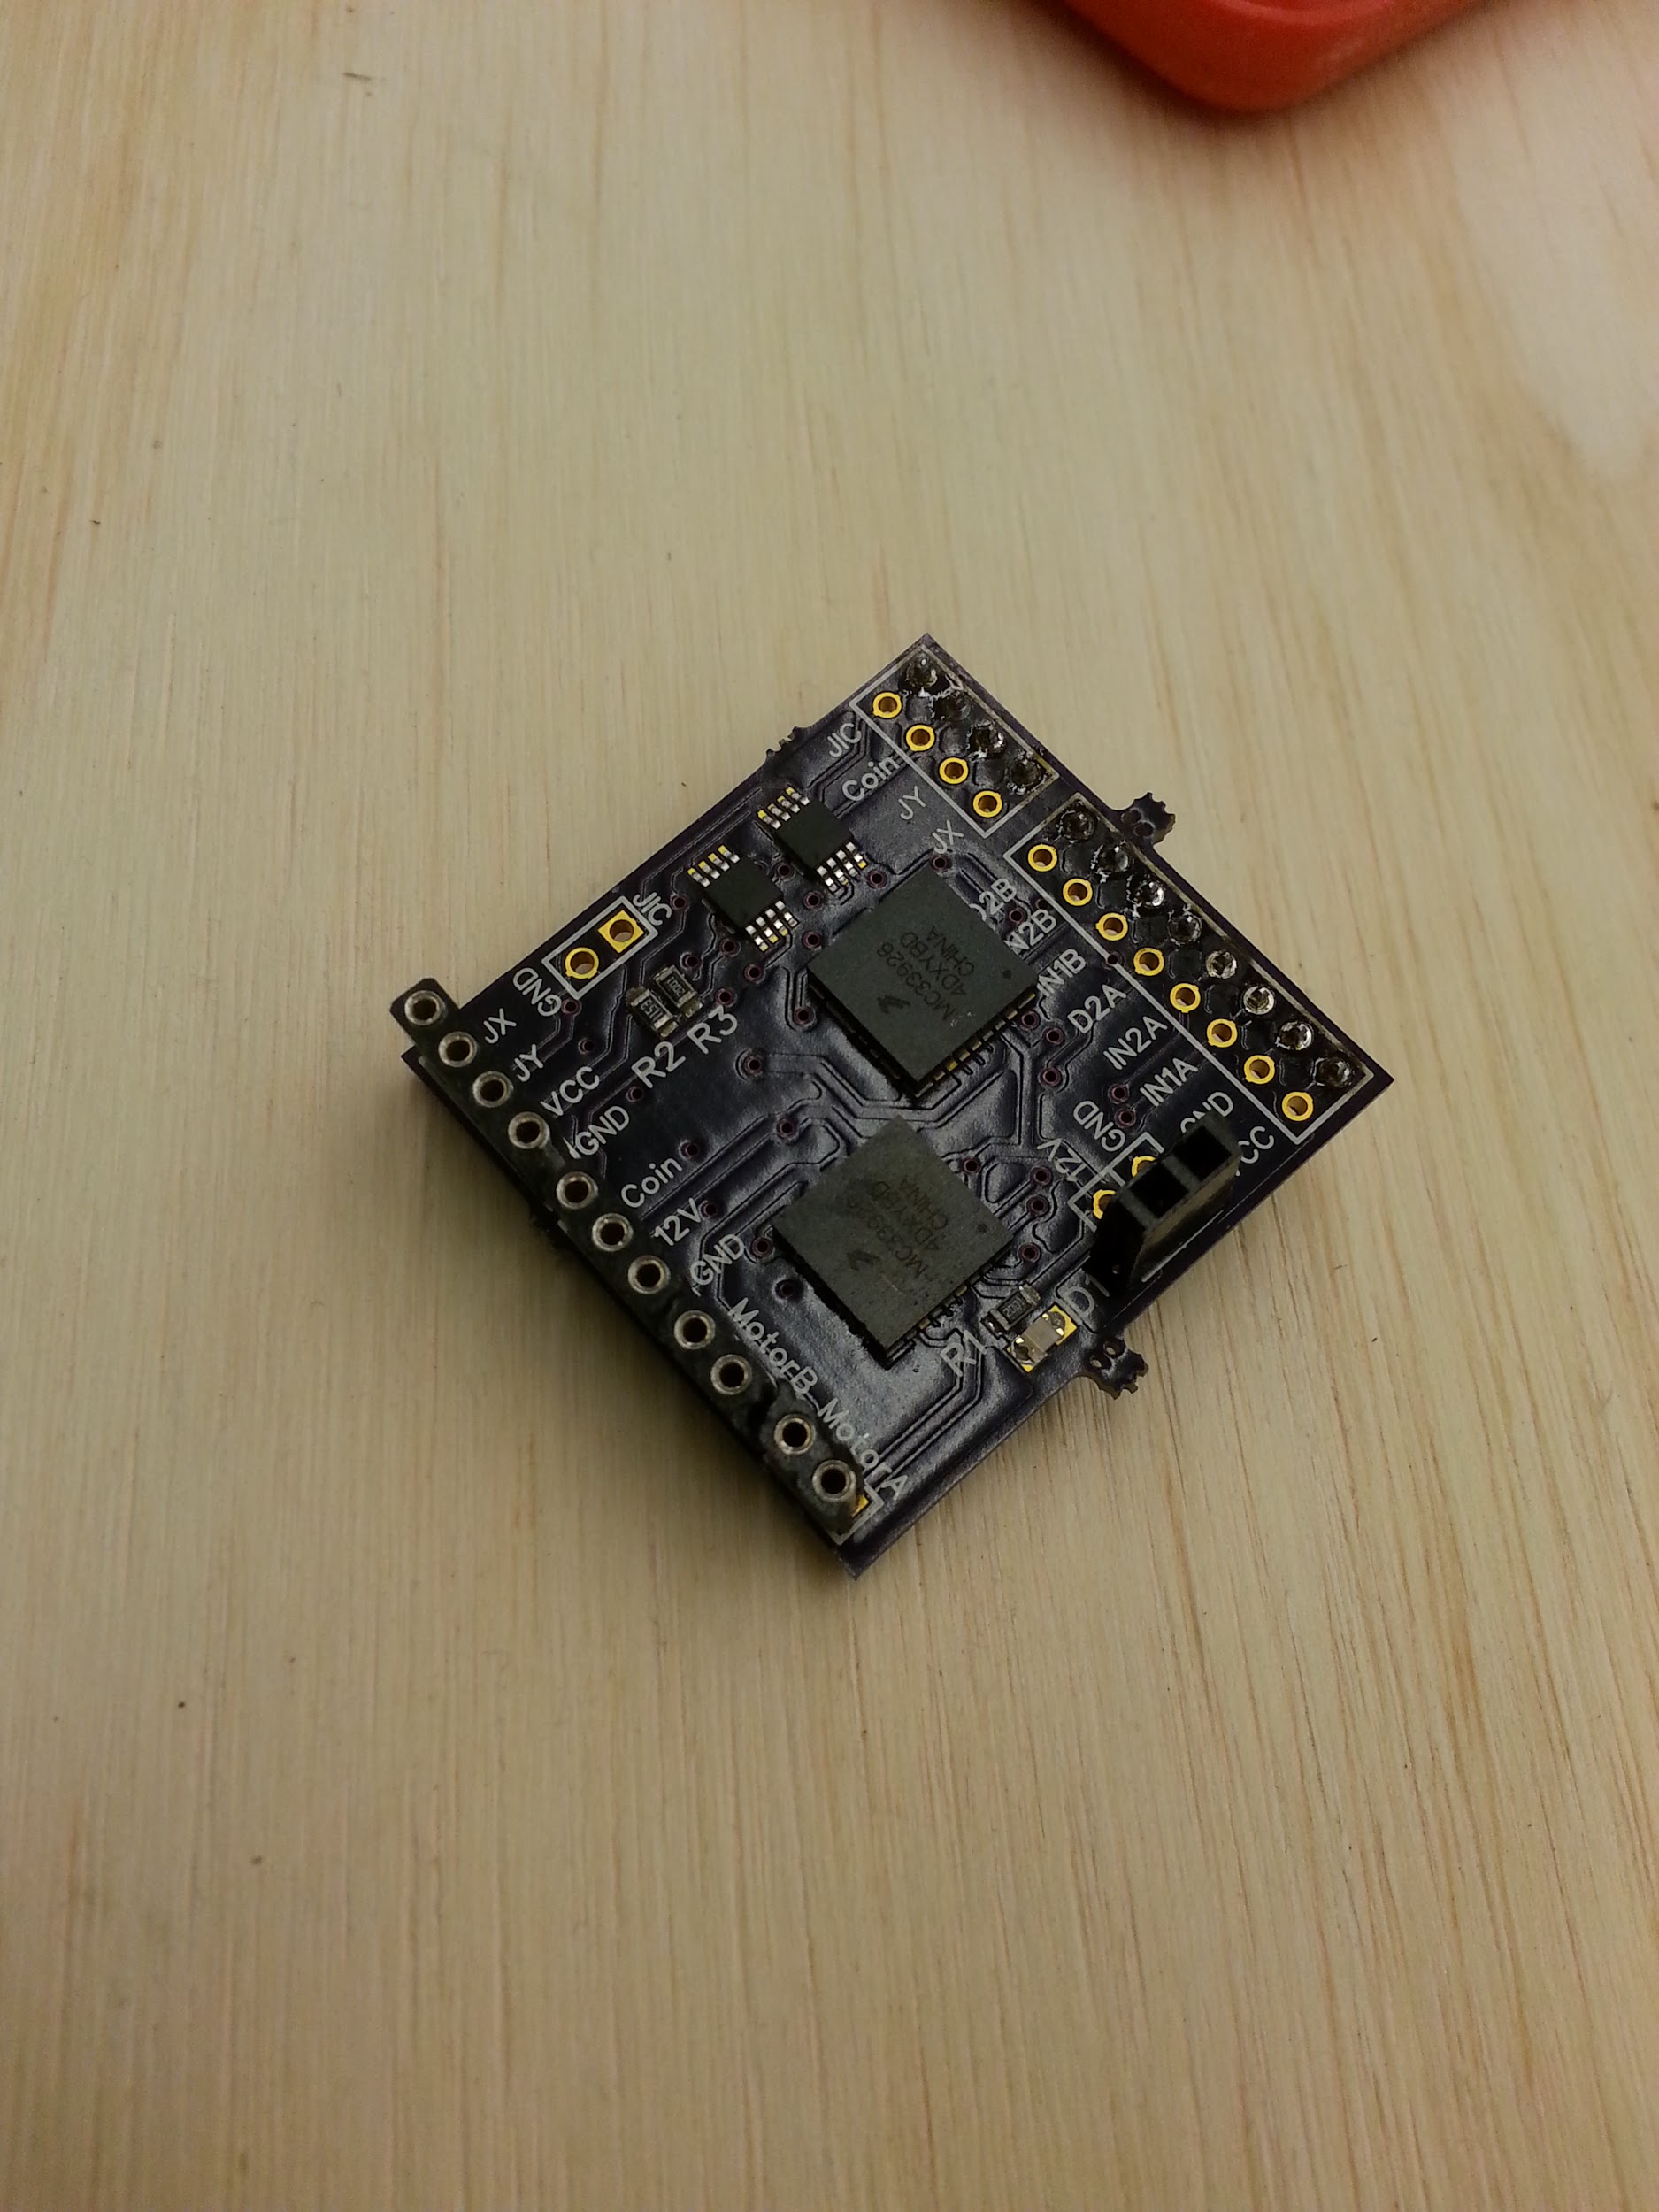
Custom PCB for user input and motor control
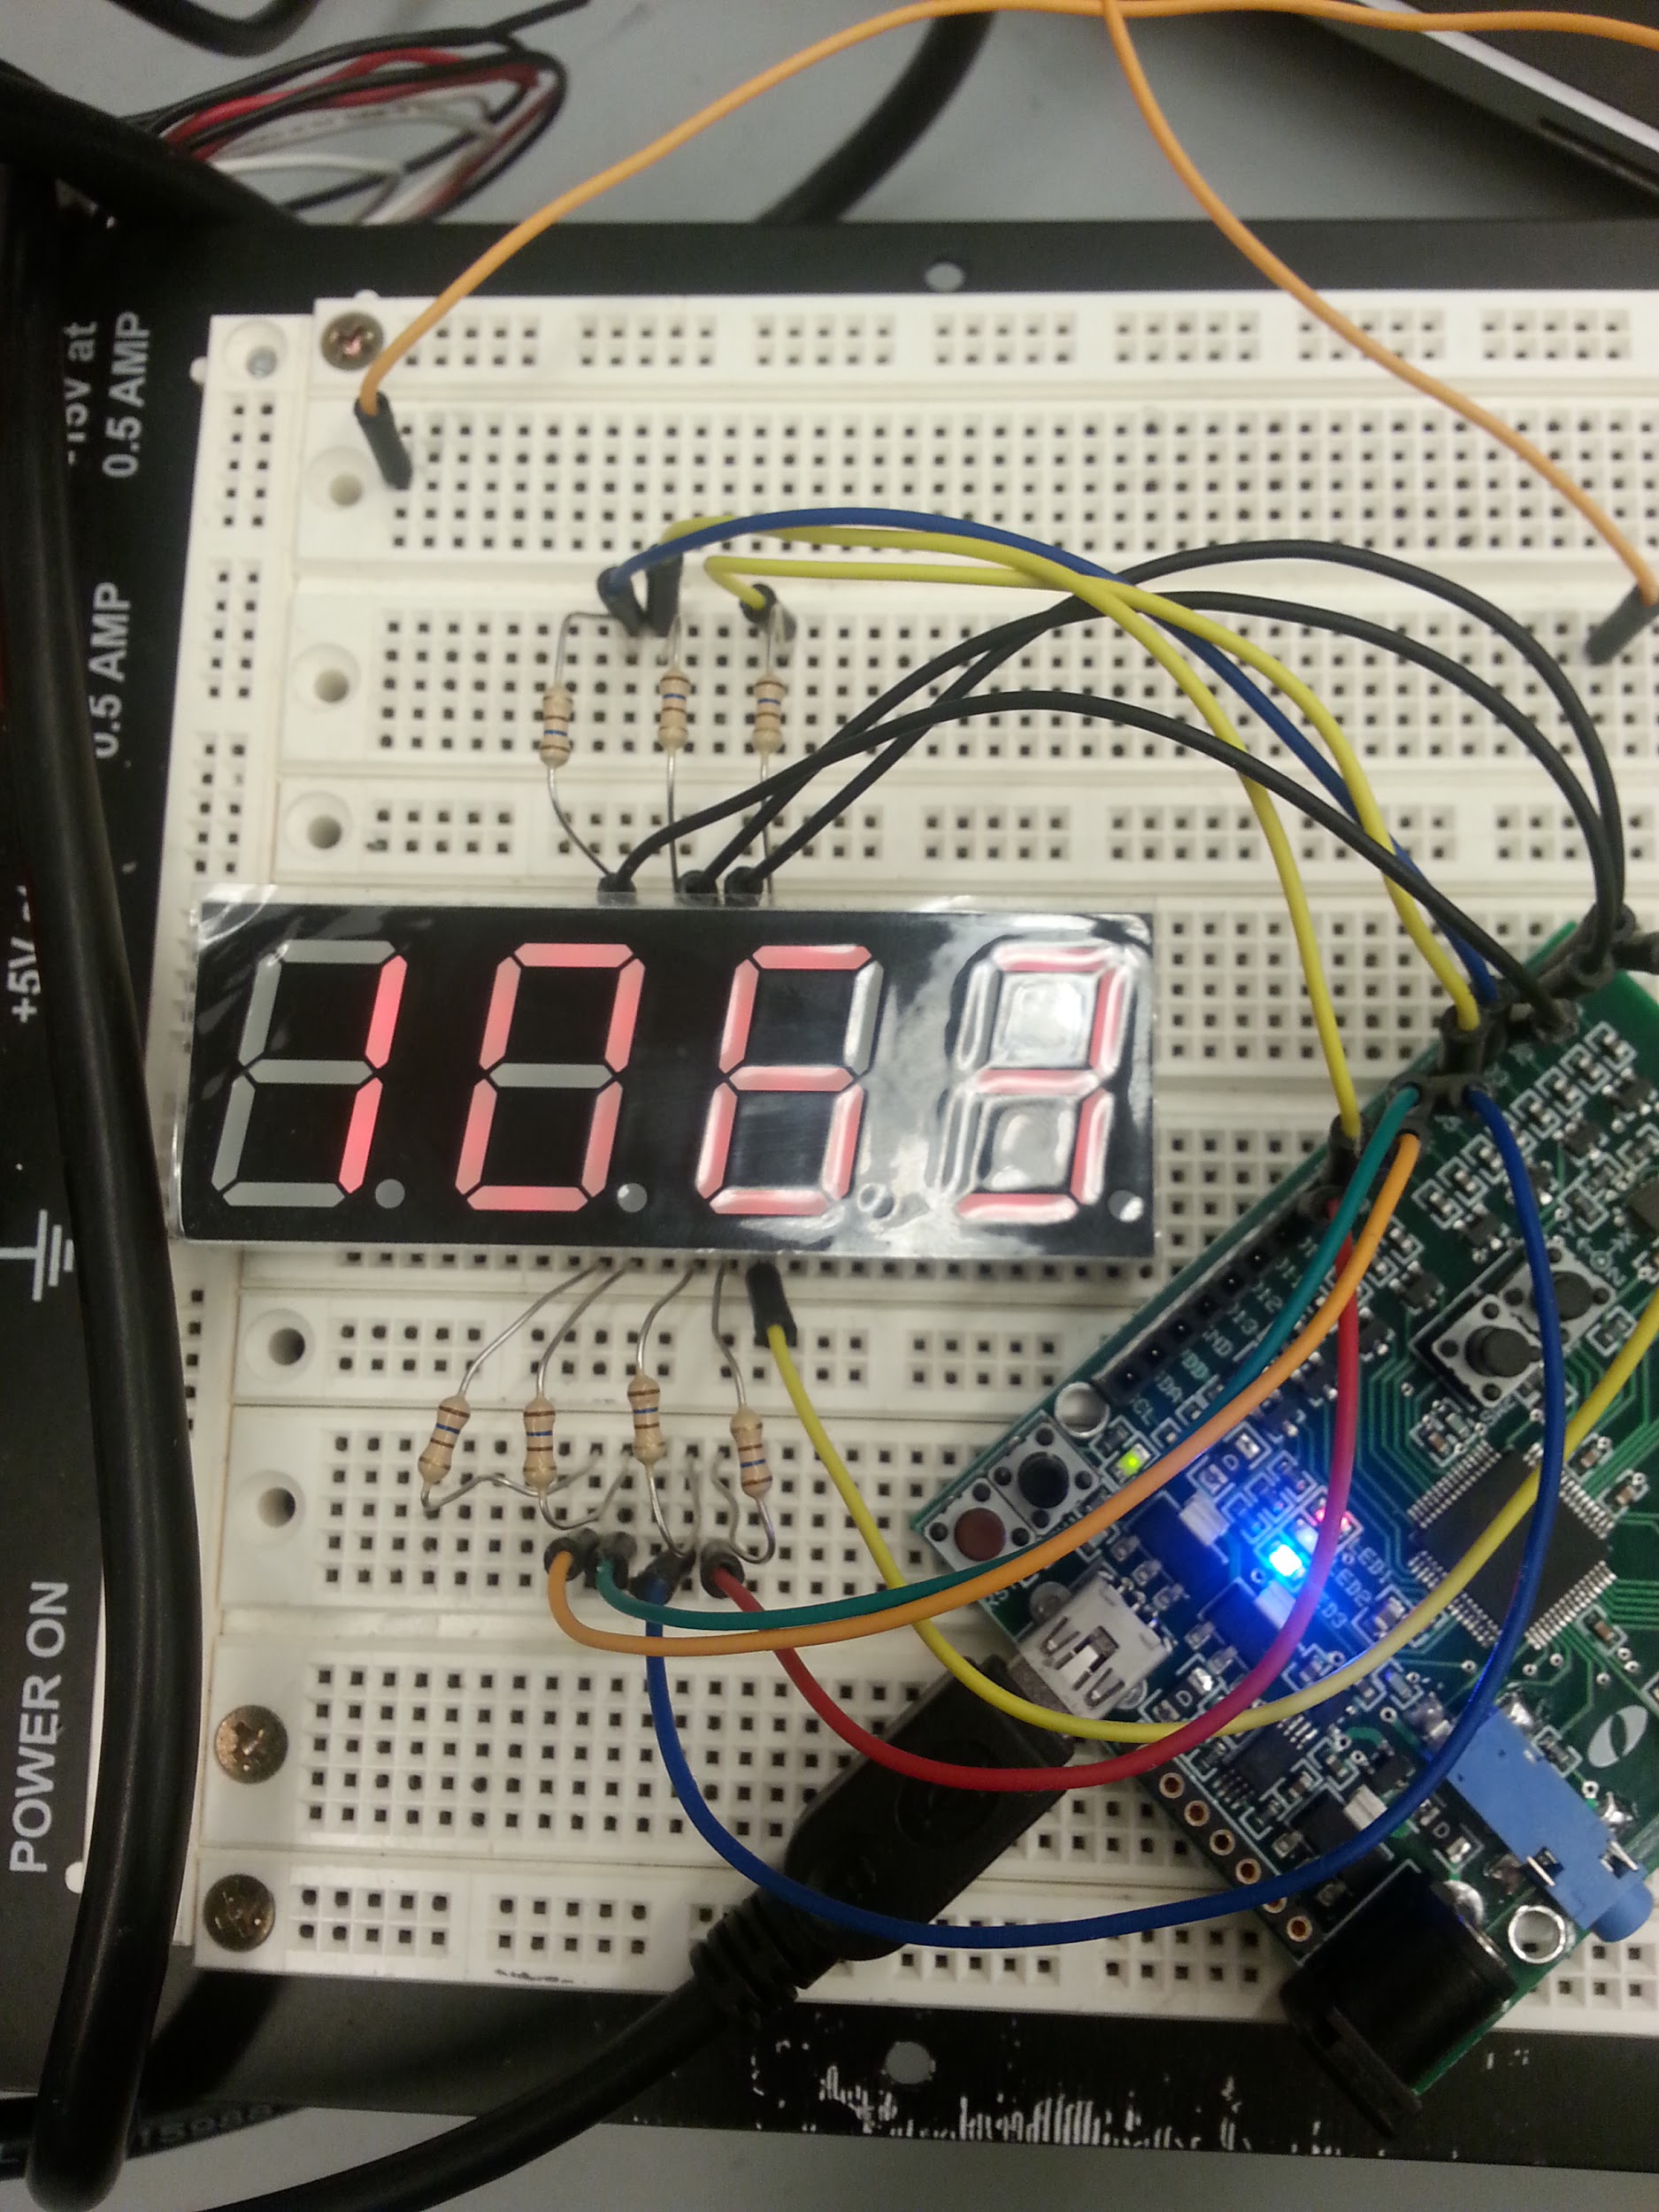
7-segment display for scoring
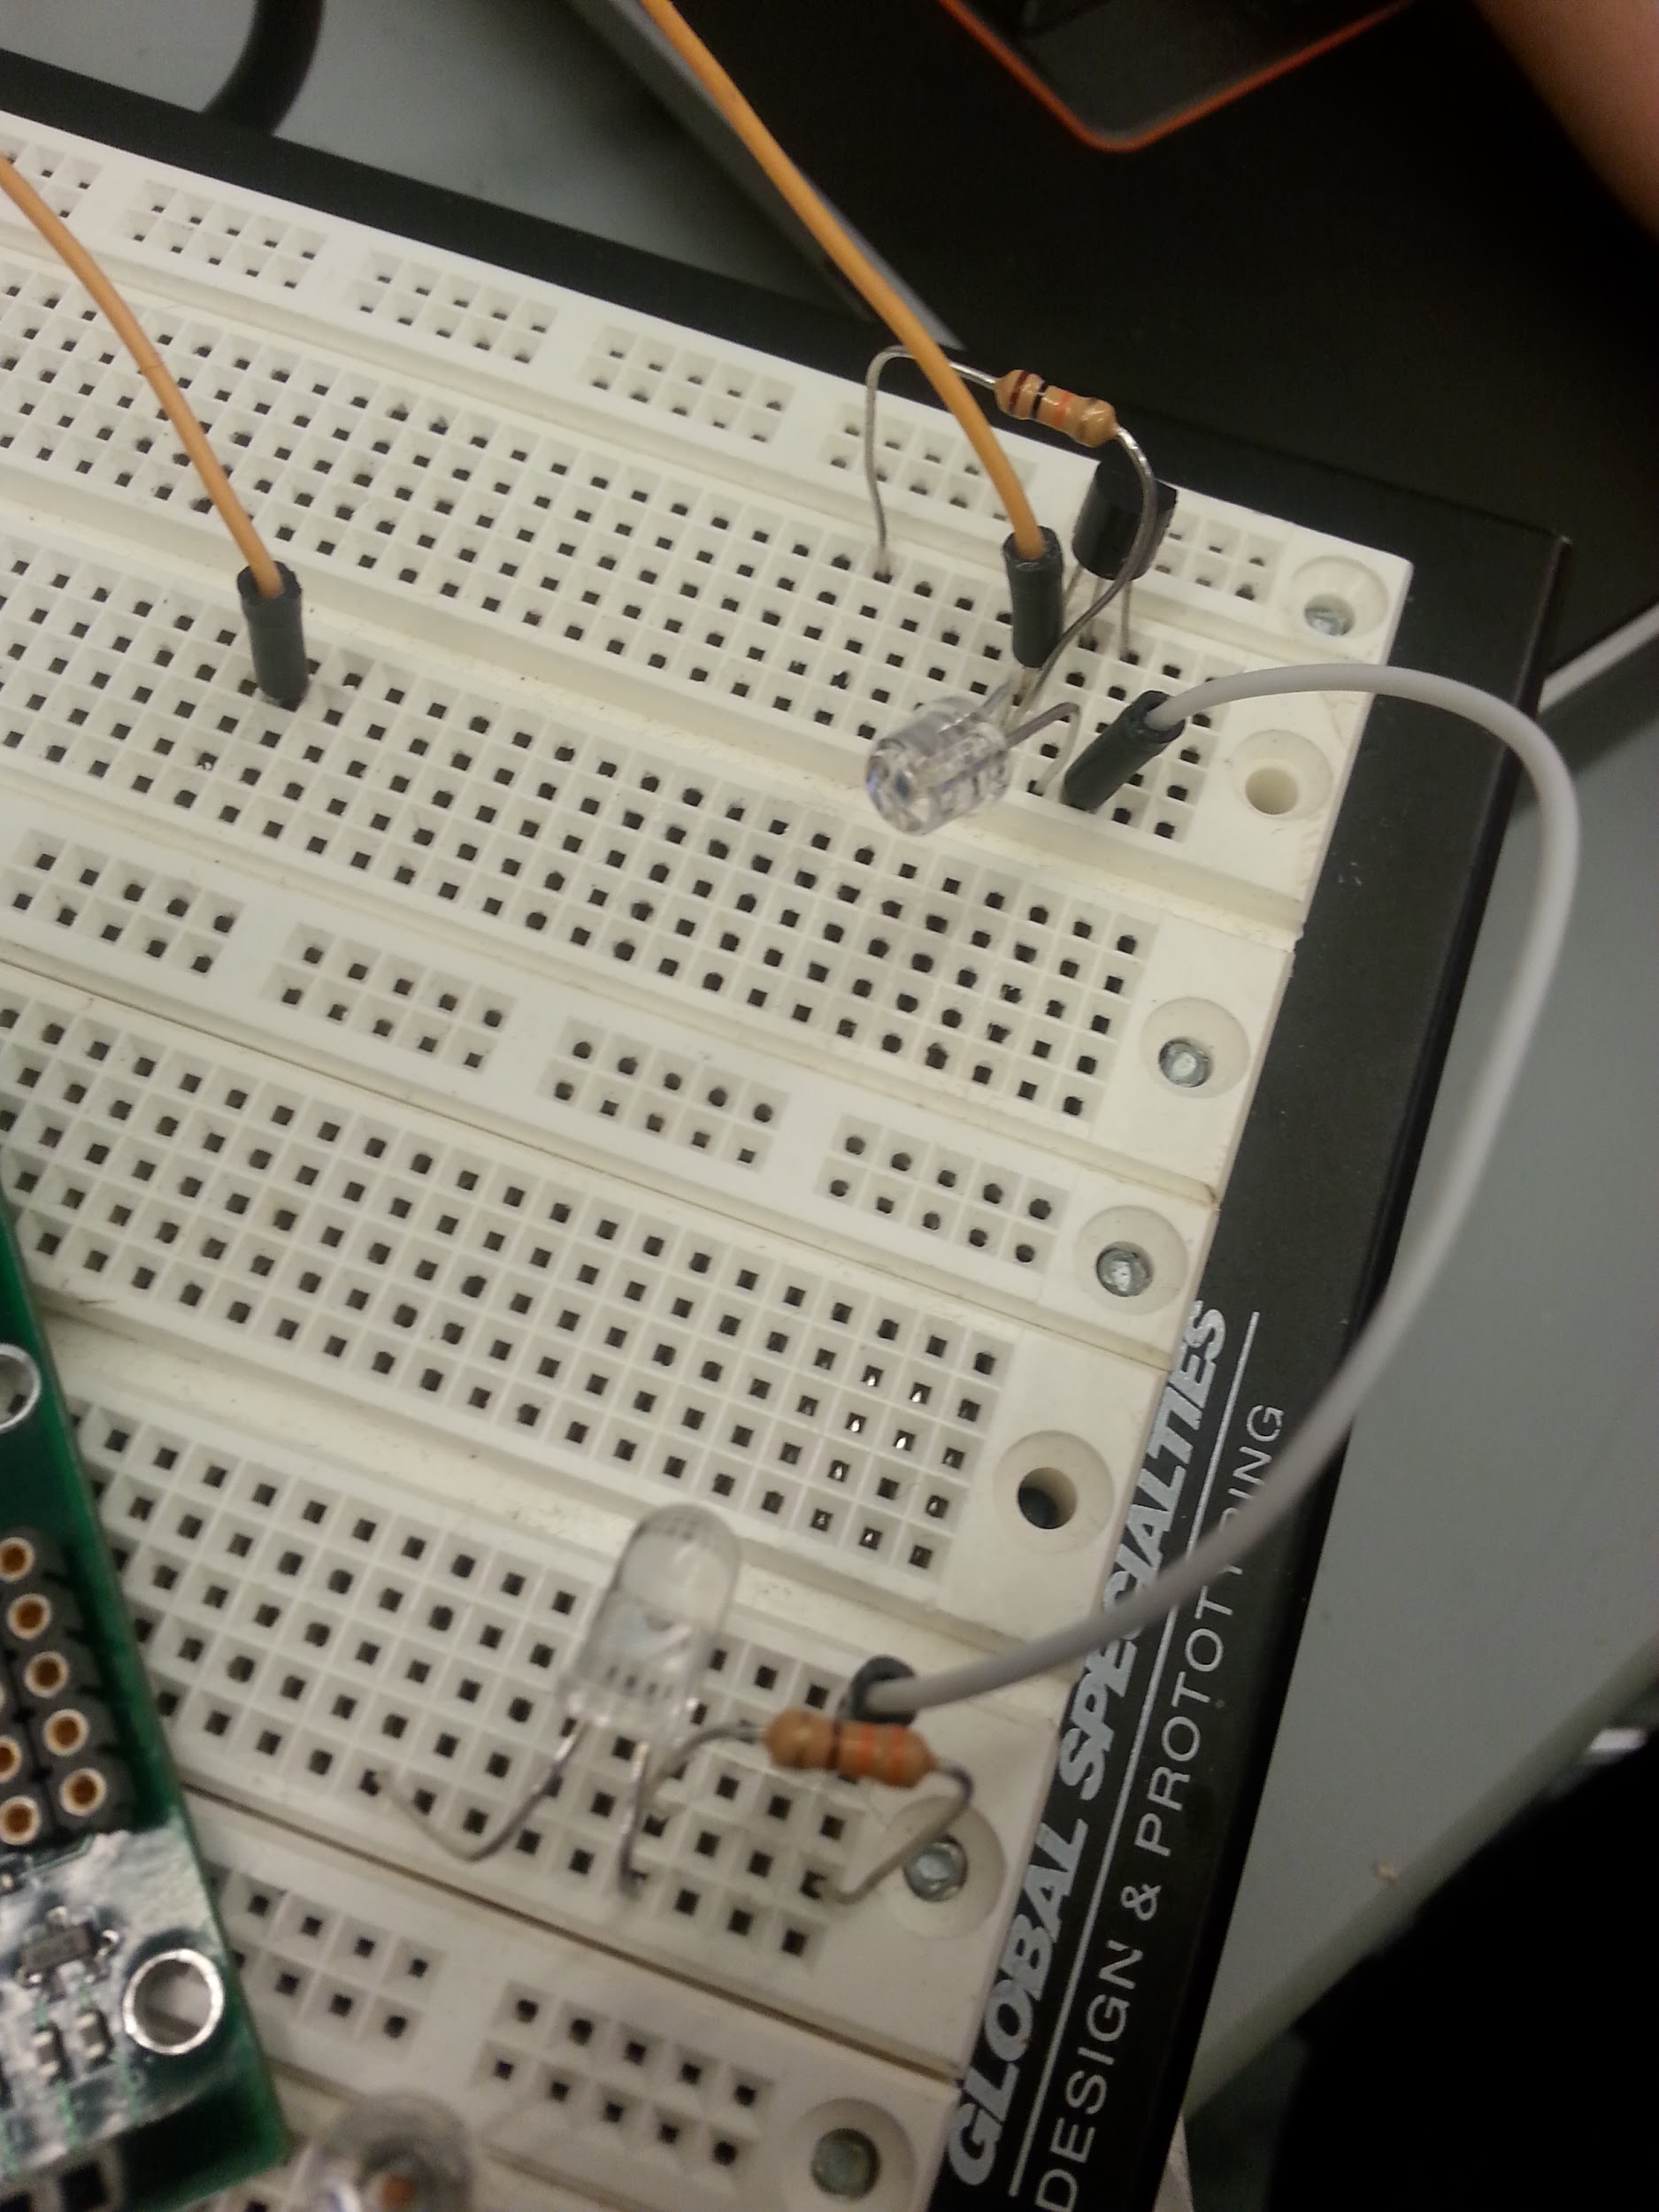
Photodiode to detect win/lose conditions
Sprint 4: Gameplay and Decoration
Up to this point, we had worked mainly on control mechanisms and only put a small amount of time into the actual gameplay. This was our main failure mode at the start of this sprint. We spent the sprint prototyping obstacles and assembling the overall structure of the game. After trying cardboard, string, and wire (and considering saran-wrap), we ended up using a net for our obstacles. The net is transparent, allowing the player to see the ball at all points, but effecively knocks the ball off the airstream.
One of our other concerns was that the airflow was too turbulent and the ball would fall off on its own. We prototyped several different nozzles to focus and smooth the airflow (trying to achieve Laminar flow).
Lastly, we painted the assembly to make it more user-friendly!
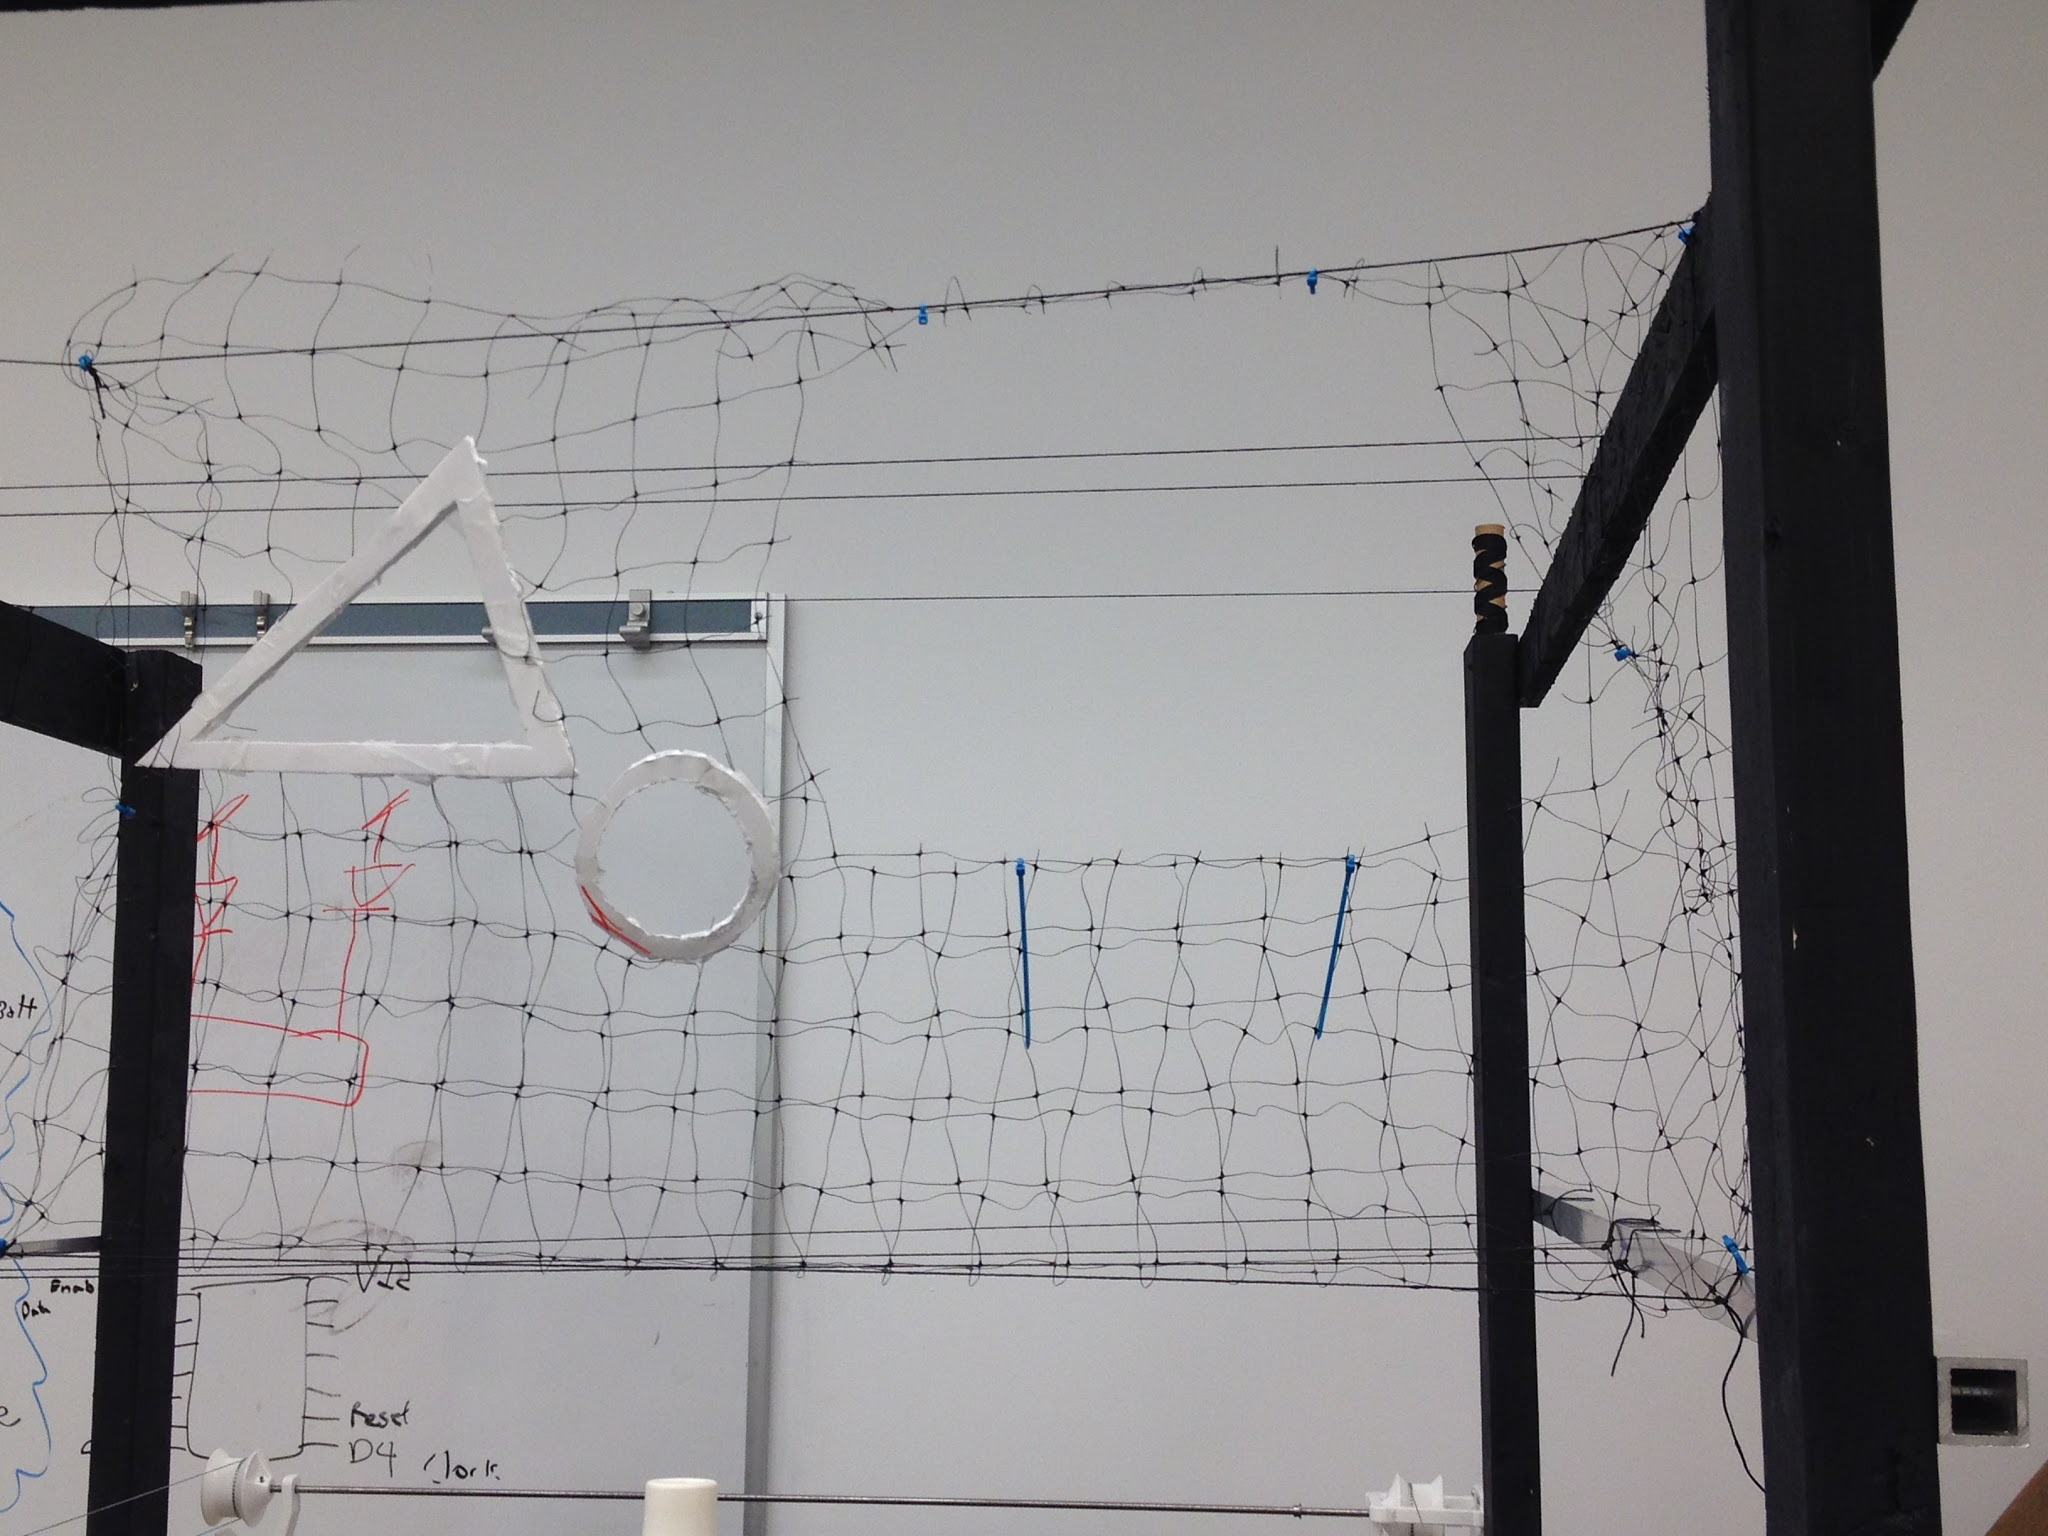
Holes in the netting for the ball to pass through
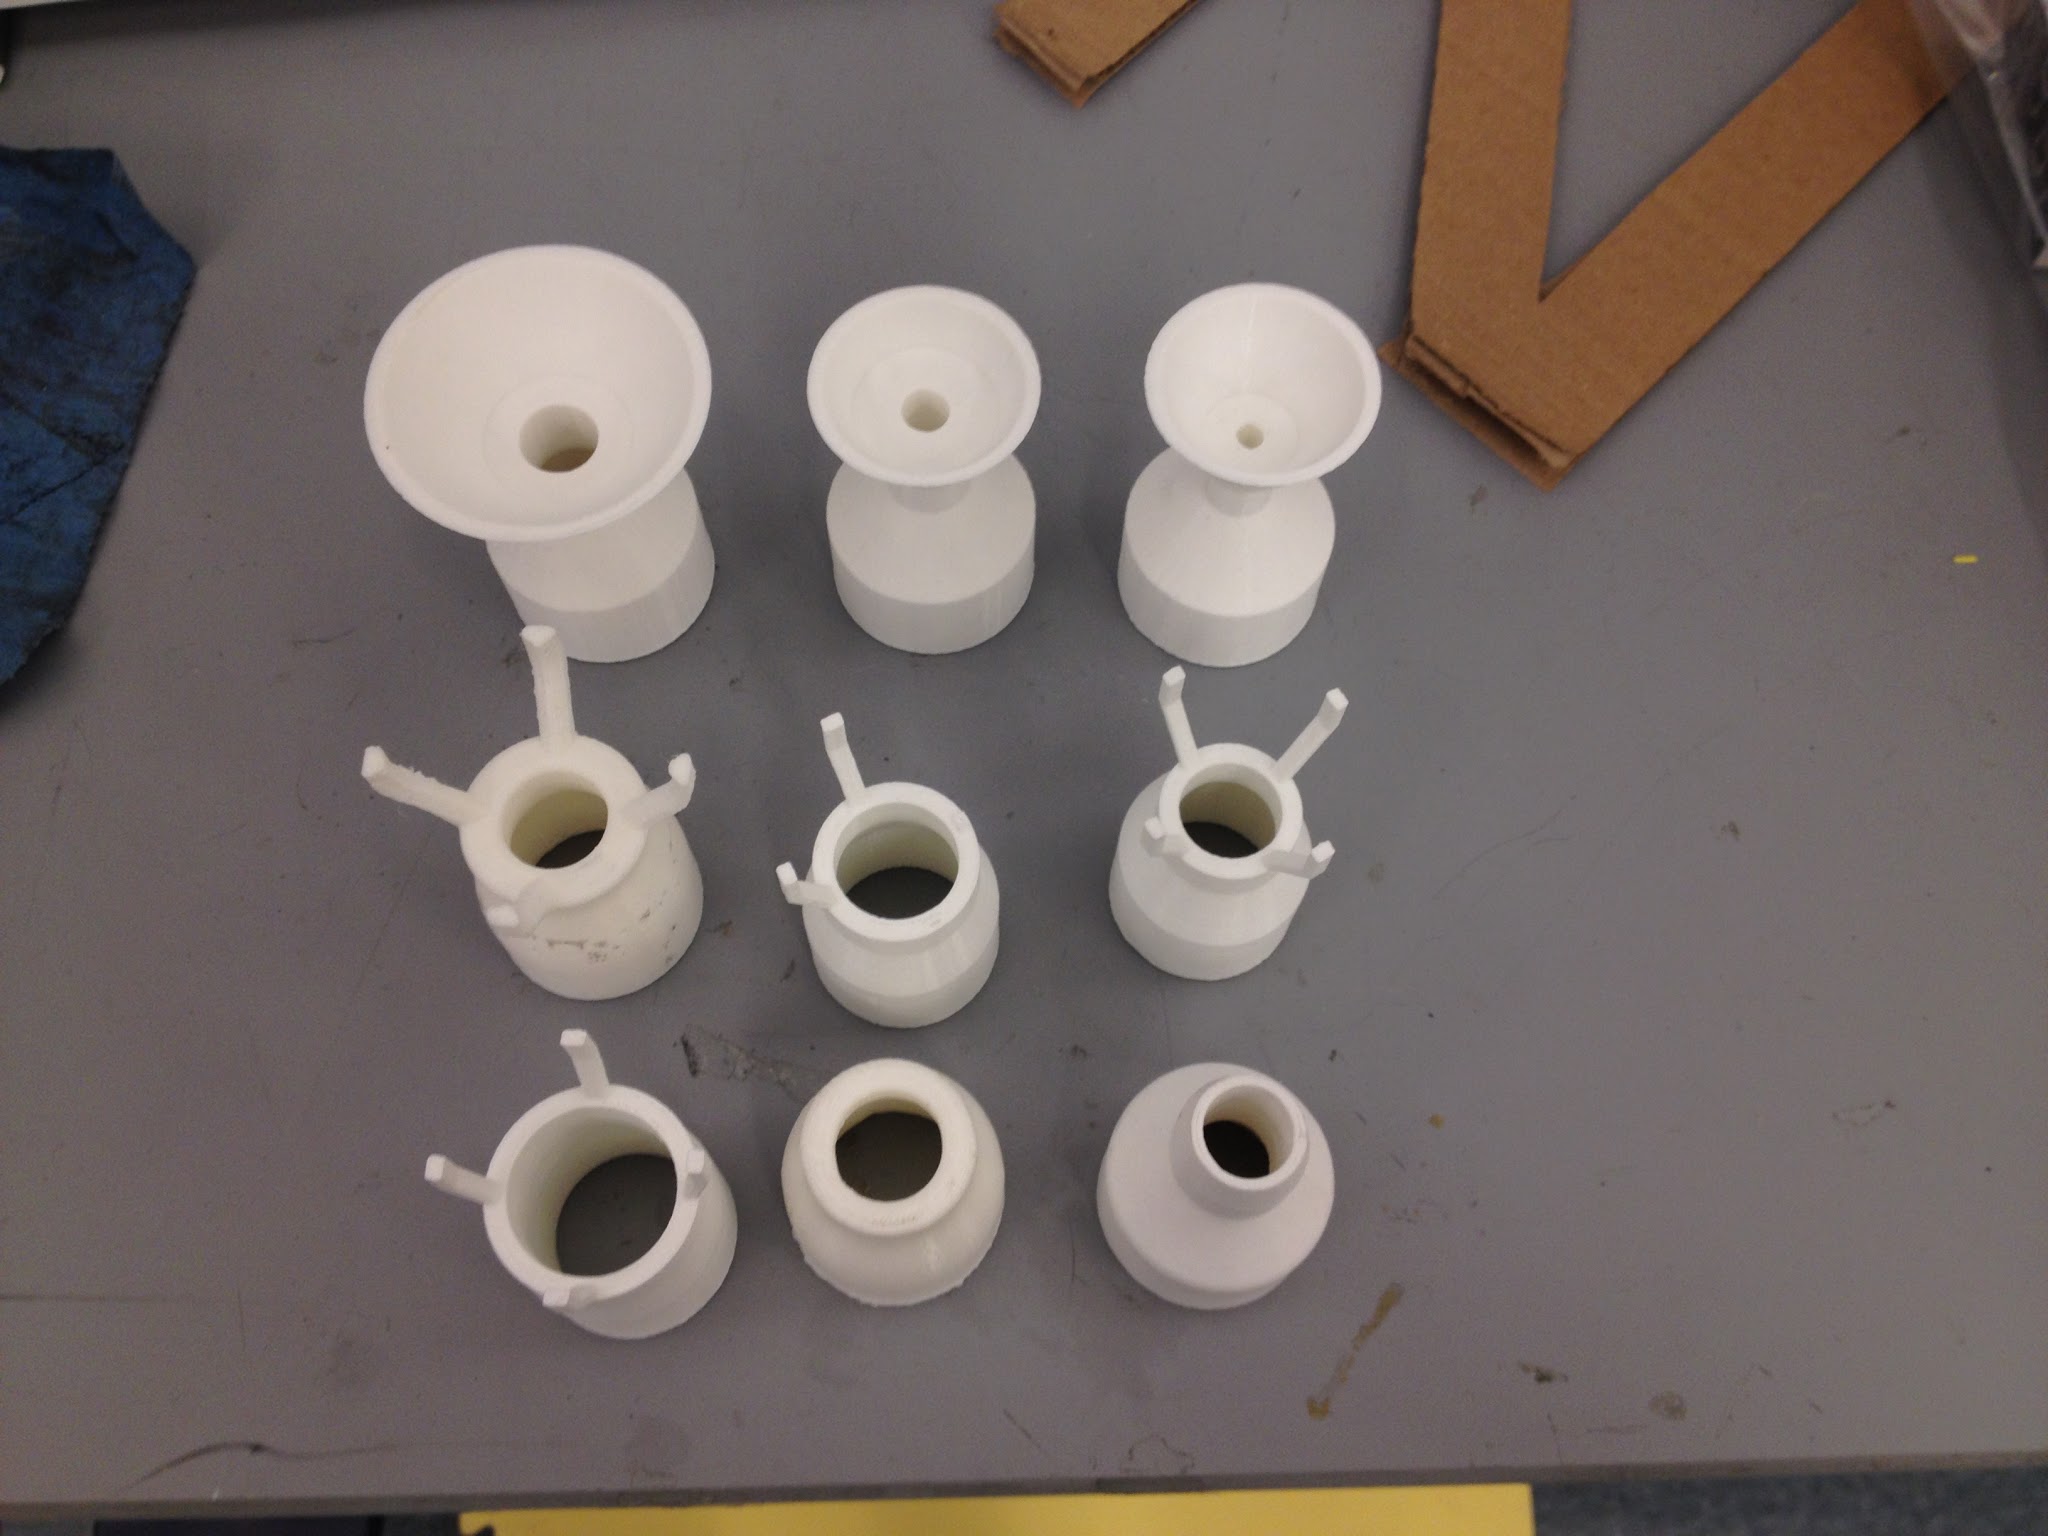
Our fleet of 3D printed nozzles that we experimented with! Final nozzle not shown here, but it's closest to the one in the middle of the bottom row.
Sprint 5: Debug and Polish
At this point, our project was fully functional - we just needed polish. During the final sprint, we finished putting up obstacles, laser-cut a control box to replace the cardboard box, and made other tuning adjustments to all of the subsystems.
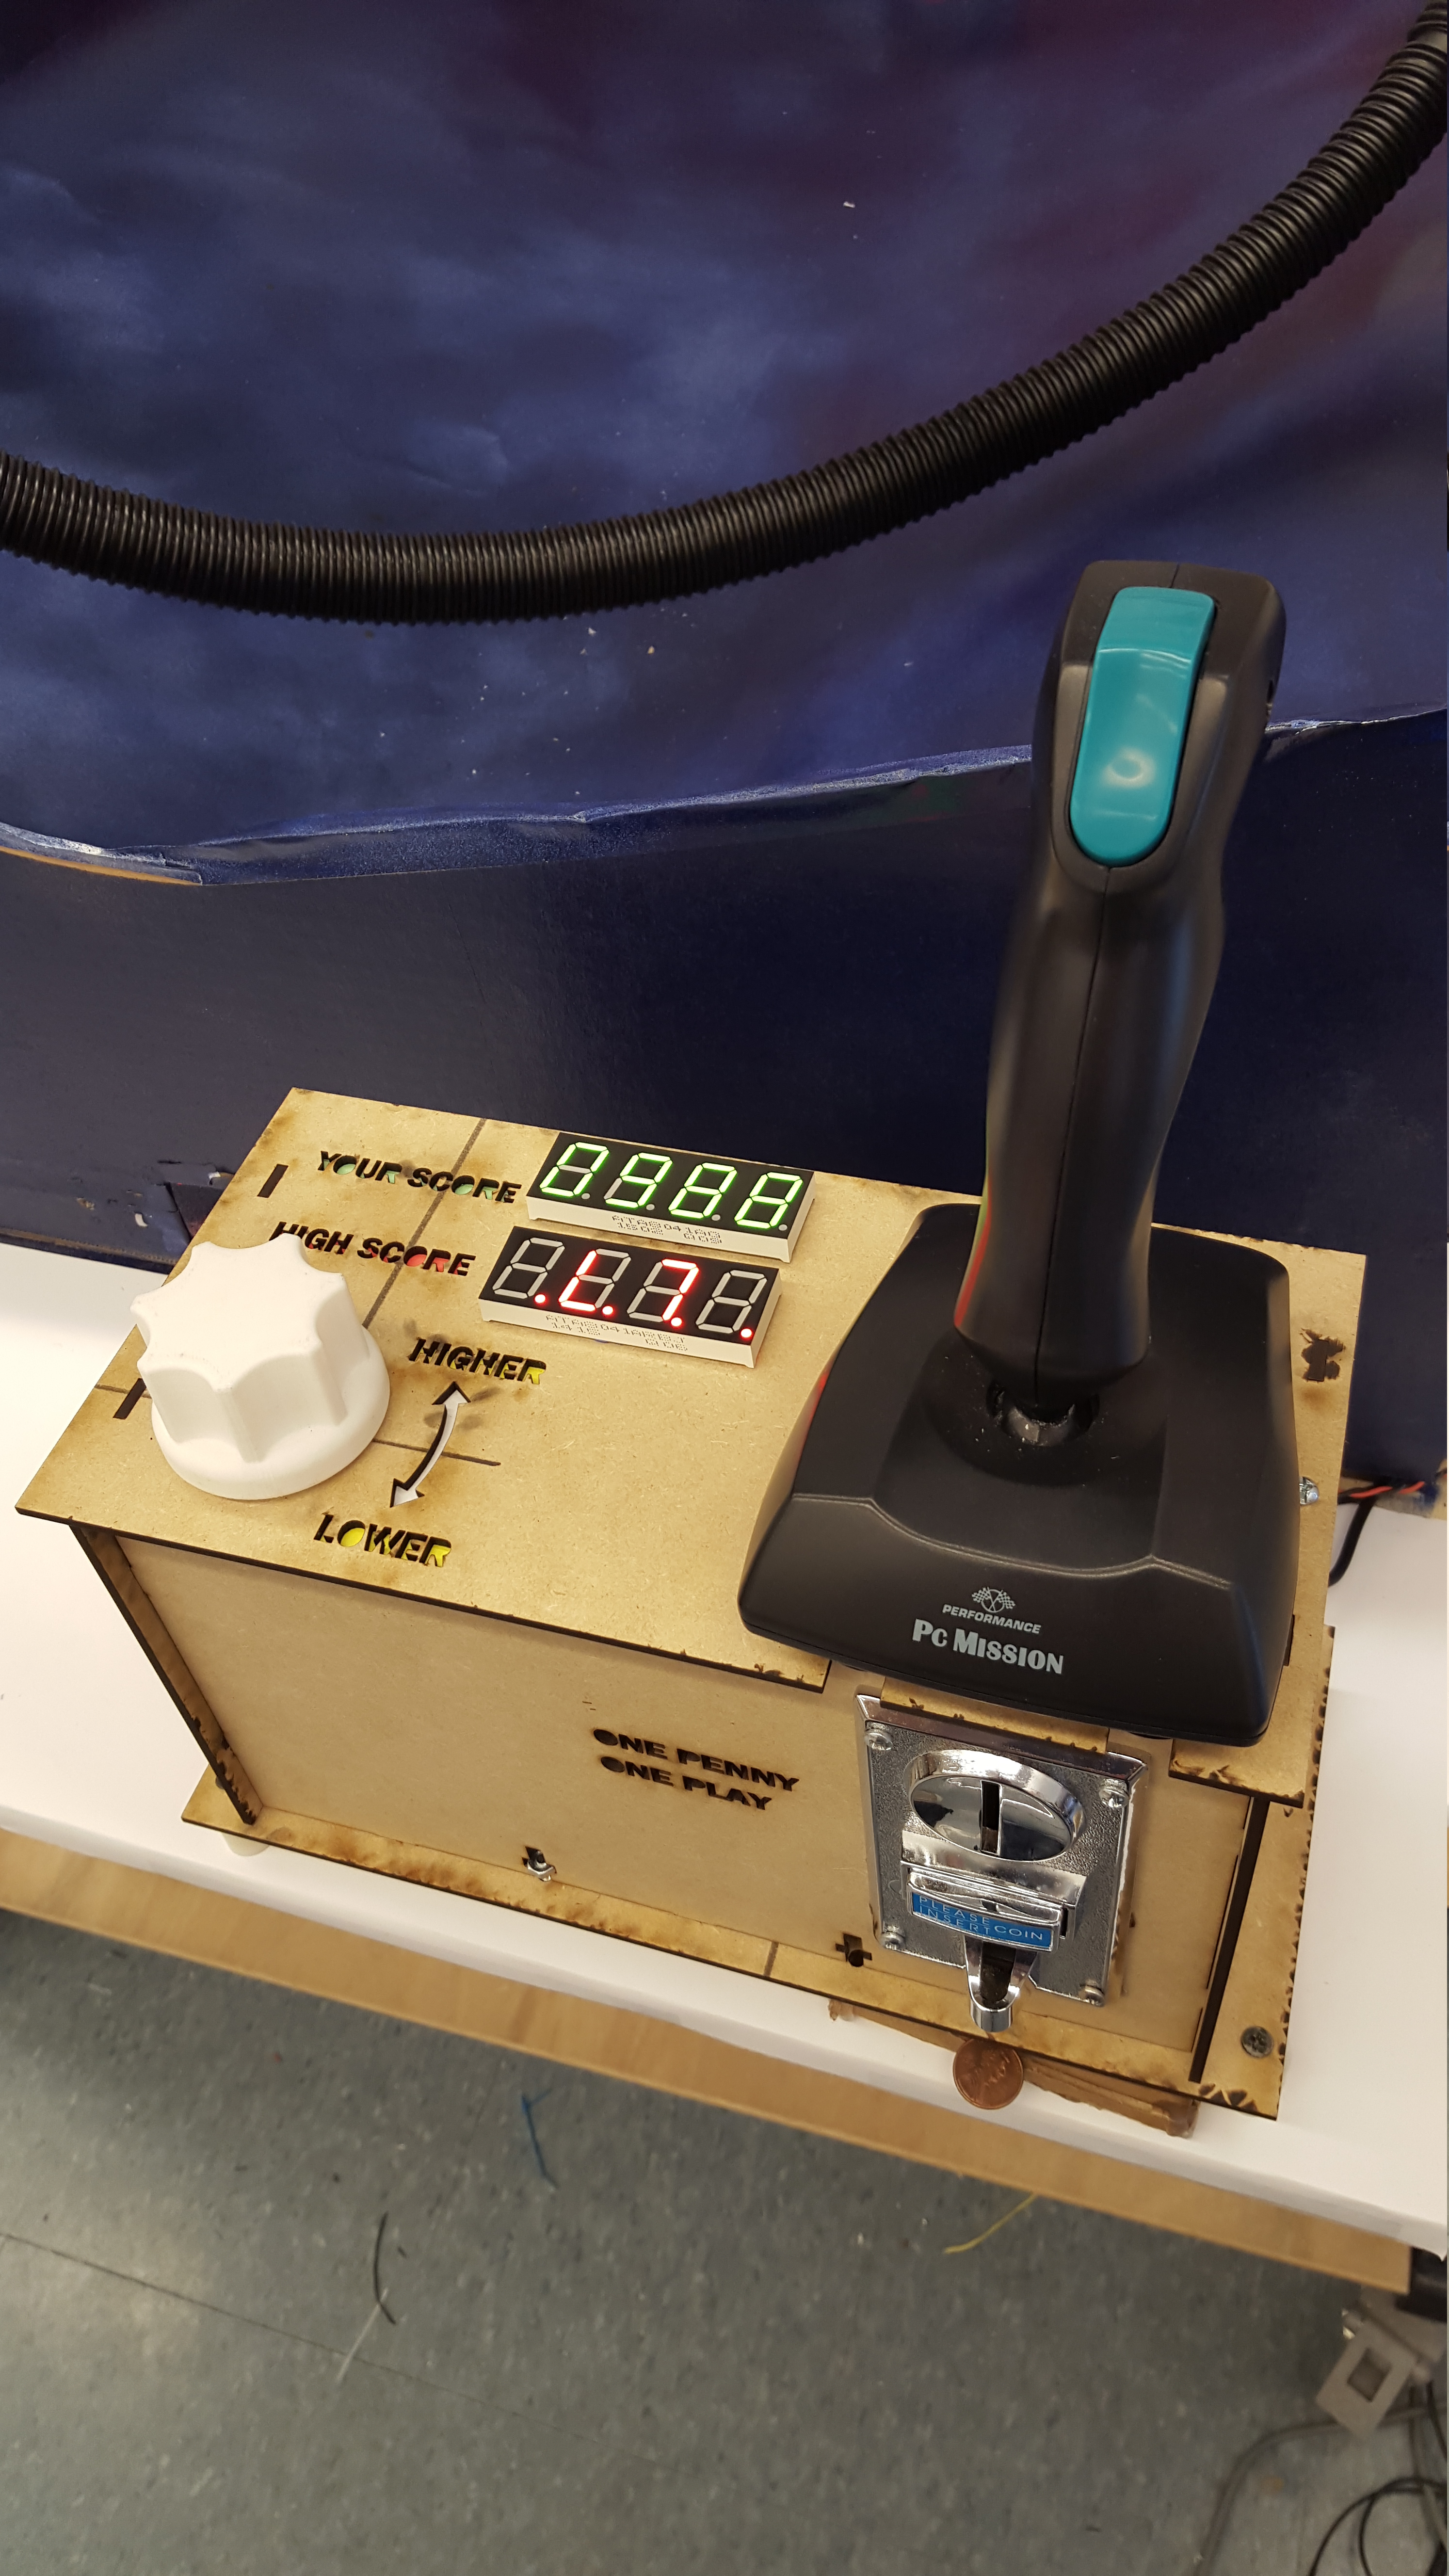
Final control box

The finished game assembly!